Intake System Fitment and Installation Quality: What Makes an Air Intake Kit Reliable?
Intake Quality Is Proven During Installation

An aftermarket intake kit may look excellent in product photos. The pipe may be polished, the filter may look aggressive, the airbox may appear well designed and the product listing may describe improved airflow. But the real quality test often begins when the installer opens the hood and tries to fit the system into the vehicle.
This is where many intake products succeed or fail. Intake system fitment is not a minor detail. It is one of the most important indicators of whether an intake kit was engineered properly. A pipe that is slightly too long can push against the throttle body. A bracket that is misaligned can create vibration. A silicone coupler clamp that cannot be reached easily can make installation frustrating. A MAF sensor flange that does not sit correctly can cause drivability issues. A heat shield that leaves large gaps may reduce thermal performance.
In the aftermarket, many buyers first care about power, sound and appearance. But after installation, they care about something more practical: does the kit fit without forcing parts, leaking air, rubbing against nearby components or triggering warning lights? For distributors, workshops and B2B buyers, this practical reliability matters more than a single marketing claim.
A high-quality air intake kit installation experience should feel controlled. The pipe should follow the intended route. Couplers should align naturally. Clamps should tighten securely. Brackets should connect without stress. Sensors should install in the correct direction. The filter should have clearance. The hood should close without interference. The system should stay stable after the engine moves, vibrates and heats up.
This is why intake quality control must include fitment validation, not only visual inspection. A good intake product is not simply manufactured. It is installed, tested and proven.
Why Fitment Is More Complex Than It Looks

An intake pipe may look like a simple bent tube, but engine bay packaging is complex. Modern vehicles have tight spaces filled with wiring harnesses, coolant lines, brake components, strut towers, radiator supports, fuse boxes, engine covers, turbo components, sensors and mounting points. The intake route must work around all of these parts.
This makes engine bay clearance one of the most important design factors. The intake pipe must have enough space around it to avoid rubbing, heat exposure and movement-related contact. Even if the pipe fits when the vehicle is stationary, it must also fit when the engine moves under load. Engines shift slightly during acceleration, deceleration and vibration. If the intake is installed too tightly, that movement can cause rubbing, noise, loosened clamps or even pipe damage.
Vehicle-specific intake design is especially sensitive to small differences. A model-year change, trim variation, engine option or regional version may have different brackets, sensors or engine covers. A kit that fits one version of a vehicle may not fit another version without adjustment. For B2B buyers, this creates a major sourcing risk if the supplier does not understand fitment variation.
Fitment also includes service access. A kit may technically fit, but if the installer cannot reach the clamp, remove the filter or connect the sensor easily, the product may still create a poor user experience. A reliable aftermarket intake kit should consider the person installing and maintaining it.
This is why intake system fitment requires more than CAD design. It needs real vehicle test fitting, tolerance review and practical installation feedback.
Engine Bay Clearance: The First Fitment Standard
Engine bay clearance means the intake system has enough space from surrounding components. This includes the body, hood, radiator fan, battery, fuse box, coolant reservoir, brake lines, wiring harnesses, engine cover, exhaust heat sources and moving parts.
Clearance is important because a vehicle is not static. The engine moves. Hoses expand slightly under pressure. Components heat and cool. The body may flex slightly. A pipe that barely clears a component during installation may start rubbing after real driving.
Rubbing is one of the most common long-term fitment problems. A polished aluminum intake pipe may rub against a bracket and lose surface finish. A silicone coupler may touch a sharp edge and wear over time. A plastic intake tube may vibrate against the engine cover and create noise. A heat shield may contact the hood insulation. These issues may not appear during a quick installation photo, but they can affect customer satisfaction over time.
Engine bay clearance also affects heat management. If the intake pipe or filter sits too close to the exhaust manifold, turbocharger or radiator outlet, intake air temperature may rise. A heat shield can help, but it cannot solve all clearance problems. Good routing should keep sensitive intake components away from major heat sources whenever possible.
For intake quality control, clearance should be checked in multiple areas: static fit, hood closure, engine movement, clamp access, sensor wiring length, filter removal and heat source proximity. A professional intake product should not rely on the installer bending, pushing or forcing parts to make it fit.
The Role of the Intake Pipe Bracket

The intake pipe bracket is often overlooked, but it plays a critical role in reliability. A bracket supports the intake pipe, controls vibration and helps maintain correct alignment. Without proper support, the pipe may place stress on couplers, sensors, throttle body connections or turbo inlet connections.
A good intake pipe bracket should fit naturally. It should not require the installer to pull the pipe into position. If the bracket hole does not line up with the vehicle mounting point, the pipe may be installed under stress. Over time, that stress can cause vibration, coupler movement, cracks or loosened hardware.
Bracket strength matters as well. A thin or poorly welded bracket may fatigue. A bracket with sharp edges may damage nearby components. A bracket placed too far from the pipe’s load point may not control movement effectively. A bracket that is too rigid without allowing slight engine movement may transfer stress to the pipe or connection.
Material and finish are also important. Steel brackets may need corrosion protection. Aluminum brackets should be thick enough for the load. Welded brackets should be clean and consistent. Rubber isolation can be useful in some designs to reduce vibration and noise.
For B2B buyers, brackets are a sign of engineering seriousness. A supplier that treats brackets as an afterthought may also overlook other fitment details. A well-designed bracket system shows that the manufacturer understands real engine bay behavior, not just pipe appearance.
Silicone Coupler Clamp Quality and Alignment
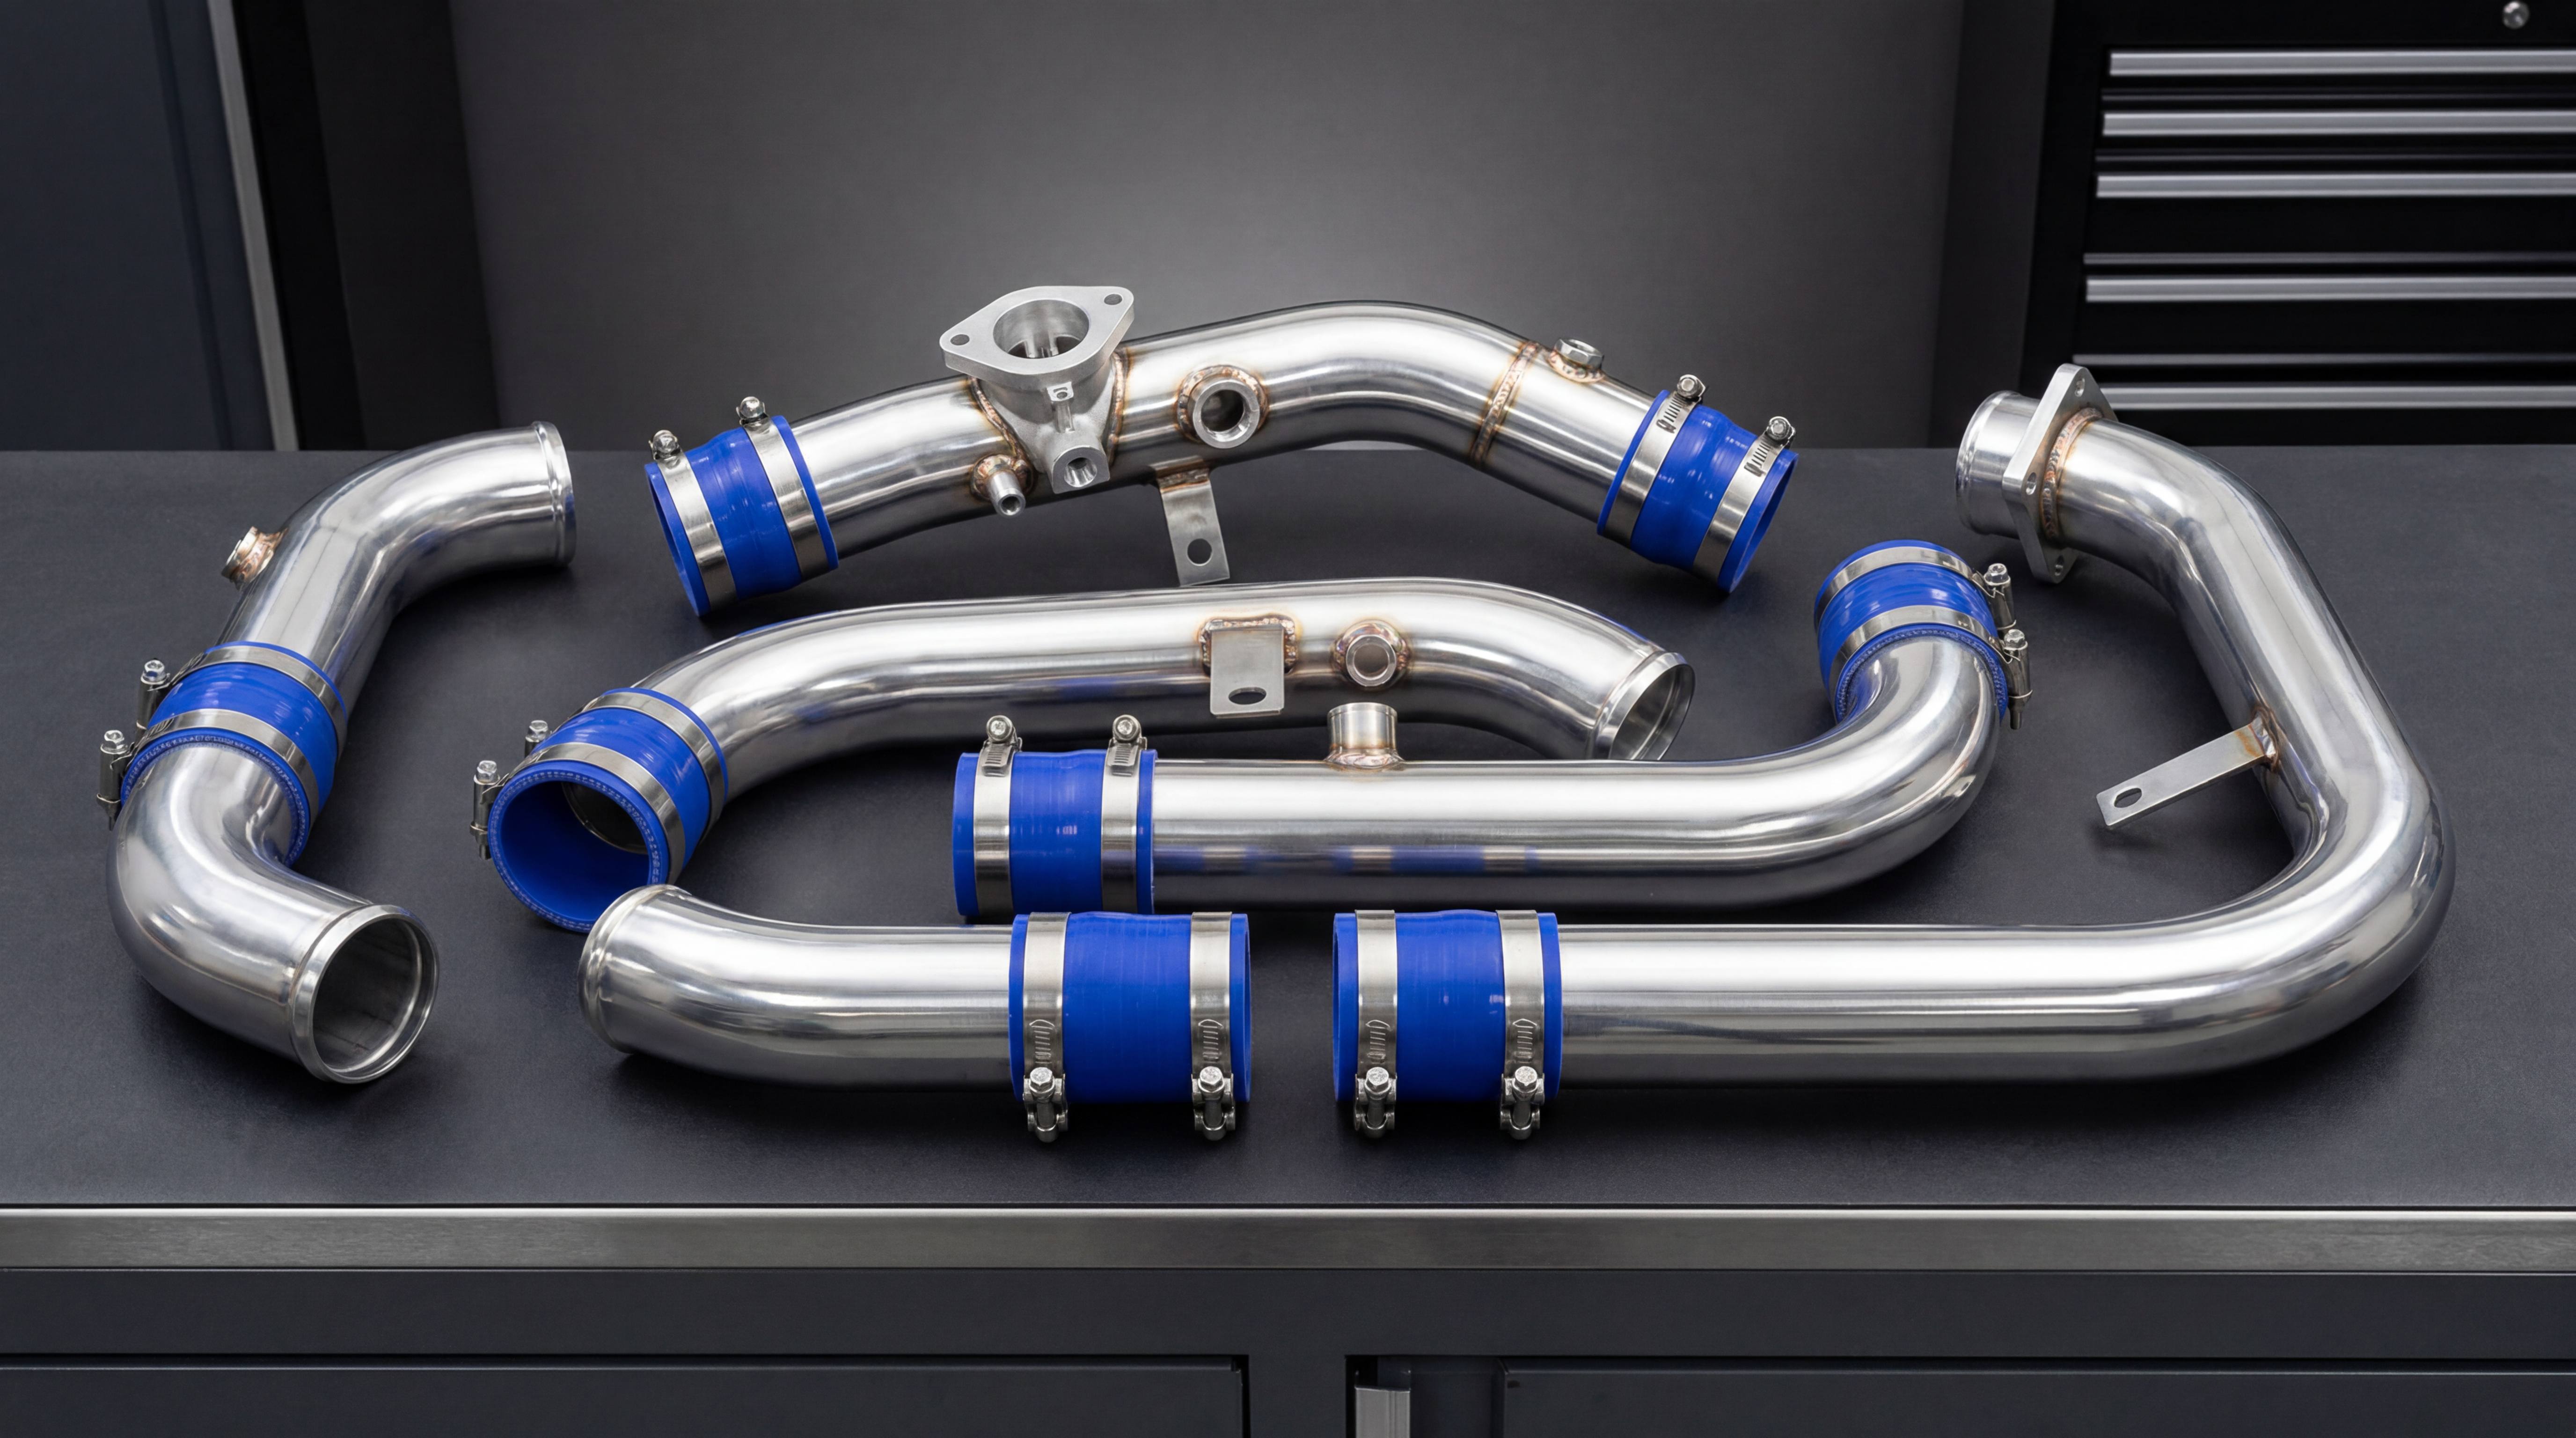
Silicone couplers and clamps connect the intake system together. They may look simple, but they determine whether the system seals properly and stays in place. A silicone coupler clamp failure can create leaks, drivability problems or complete pipe disconnection.
Coupler alignment should be natural. When the pipe ends are correctly positioned, the silicone coupler should sit straight and evenly on both sides. If the coupler is twisted, stretched or compressed to compensate for poor pipe fitment, it may fail sooner. Misalignment can also cause uneven clamping force.
Clamp selection matters. Worm gear clamps are common for many intake systems, especially on low-pressure sections. T-bolt clamps may be preferred in higher-stress or turbocharged applications. The correct clamp depends on pipe diameter, pressure, coupler thickness and installation space.
Clamp access is another practical issue. If a clamp screw faces an unreachable direction after installation, the user may not be able to tighten it properly. Poor clamp access increases the risk of loose connections. A good air intake kit installation guide should show clamp orientation clearly.
Pipe ends should also be considered. Bead-rolled ends can help retain couplers, especially in turbo or boosted applications. Smooth pipe ends may be acceptable for some low-pressure intake sections, but they require proper clamp tension and enough coupler engagement.
For intake quality control, couplers and clamps should be evaluated as functional sealing components, not only hardware accessories. A kit with beautiful pipes and weak clamps is not a reliable kit.
Sensor Fitment and Electrical Connection

Modern intake systems often include sensors, especially MAF sensors, IAT sensors, MAP-related fittings or breather connections. Sensor fitment is one of the most important areas where mechanical design and engine control meet.
A sensor must fit securely and seal properly. The flange or boss must match the sensor shape. Screw holes must align. Gaskets or O-rings must seat correctly. The sensor should not be forced into place. If the sensor is tilted, poorly sealed or installed in the wrong direction, the ECU may receive incorrect information.
Electrical connection access also matters. The sensor connector and wiring harness must reach without stretching. The cable should not be pulled tight, bent sharply or routed near heat sources. A connector that is difficult to reach may frustrate installers and increase the chance of incomplete connection.
Sensor orientation should be clear. Some sensors are directional. A MAF sensor intake design, for example, must preserve airflow direction and sensor position. If the installer can accidentally rotate the sensor incorrectly, the product should include clear markings or instructions.
For B2B buyers, sensor compatibility should be reviewed carefully. A product sample may look correct, but small dimensional differences can affect sealing and readings. Sensor boss accuracy, flange flatness, screw thread quality and gasket fit should all be part of inspection.
An intake kit is not truly vehicle-specific unless its sensor fitment is correct.
Intake Leak Test: Why Sealing Must Be Verified

An intake leak test is one of the most practical ways to verify installation quality. A leak may occur at the filter connection, coupler joint, sensor flange, breather fitting, throttle body connection, turbo inlet connection or airbox seal. Even small leaks can create problems, especially if air enters after a MAF sensor.
In MAF-based systems, unmetered air can affect fuel trims and drivability. If air enters the system after the MAF sensor, the ECU may not measure it correctly. This can lead to lean behavior, rough idle, hesitation or diagnostic codes. In turbocharged systems, pressure leaks in charge pipes can reduce boost and performance.
Leak testing can be done in different ways depending on the system. Visual inspection is the most basic method. The installer checks whether couplers are seated, clamps are tight, sensors are sealed and hoses are connected. Smoke testing can help identify small leaks. Pressure testing is common in turbocharged systems to check boost pipe and charge pipe integrity.
For aftermarket intake kits, leak prevention should begin in design. Pipe ends should have proper engagement length. Couplers should be correctly sized. Fittings should be welded or molded cleanly. Sensor flanges should seal. Airboxes should include proper seals. Installation instructions should remind users to check all connections.
A product that requires constant adjustment after installation creates after-sales problems. A reliable kit should seal correctly the first time when installed properly.
Vehicle-Specific Intake vs Universal Intake

Vehicle-specific intake kits and universal intake components serve different markets. A vehicle-specific intake is designed for a particular engine and chassis. It should fit with minimal modification, include correct brackets, use proper sensor locations and provide an installation path that ordinary users or workshops can follow.
A universal intake kit is more flexible. It may include generic pipes, filters, couplers and clamps. It can be useful for custom builds, engine swaps, fabrication shops and racing projects. However, it usually requires cutting, fitting, measuring and modification.
The problem occurs when a universal-level product is marketed like a vehicle-specific intake. If the buyer expects direct installation but the kit requires custom adjustment, dissatisfaction is likely. Clear product positioning is essential.
Vehicle-specific intake products require more development work. The supplier must test fit the kit, verify model compatibility, design brackets, confirm sensor fitment and prepare installation instructions. The cost is higher, but the retail value and customer experience can also be stronger.
Universal kits require material quality and component variety. The buyer may care more about tubing diameter, bend angles, coupler sizes, clamp types and fabrication flexibility. Fitment responsibility is shared with the installer.
For B2B sourcing, the buyer must know which market they are serving. A distributor selling to end users may prefer vehicle-specific intake kits. A supplier serving workshops may offer universal tubing and components. The quality standards are different, but both need honest positioning.
Installation Documentation Is Part of Product Quality
Installation documentation is often treated as secondary, but it can strongly affect customer satisfaction. A well-designed intake kit can still cause problems if the user does not understand how to install it.
Good documentation should include a parts list, tool requirements, step-by-step installation sequence, sensor orientation, clamp orientation, bracket mounting points, hose routing and final inspection steps. For more complex systems, photos or diagrams are extremely helpful.
The documentation should also mention common mistakes. For example, it should warn against leaving breather hoses disconnected, installing the MAF sensor backward, over-tightening clamps, placing couplers too shallow, allowing the pipe to rub against sharp edges or failing to check hood clearance.
For B2B buyers, documentation quality can reduce support workload. A distributor or brand may receive fewer complaints if installers have clear instructions. Poor documentation leads to repeated questions, returns and negative reviews.
Documentation also improves perceived professionalism. When customers open a box and see organized hardware, labeled components and clear instructions, they are more likely to trust the product. This matters in the aftermarket because buyers often compare products that appear similar online.
A complete aftermarket intake kit is not only a collection of parts. It is a guided installation solution.
Batch Consistency and Intake Quality Control
Batch consistency is one of the biggest differences between a sample and a scalable product. A supplier may make one excellent sample intake pipe, but production quality depends on whether every batch matches the intended design.
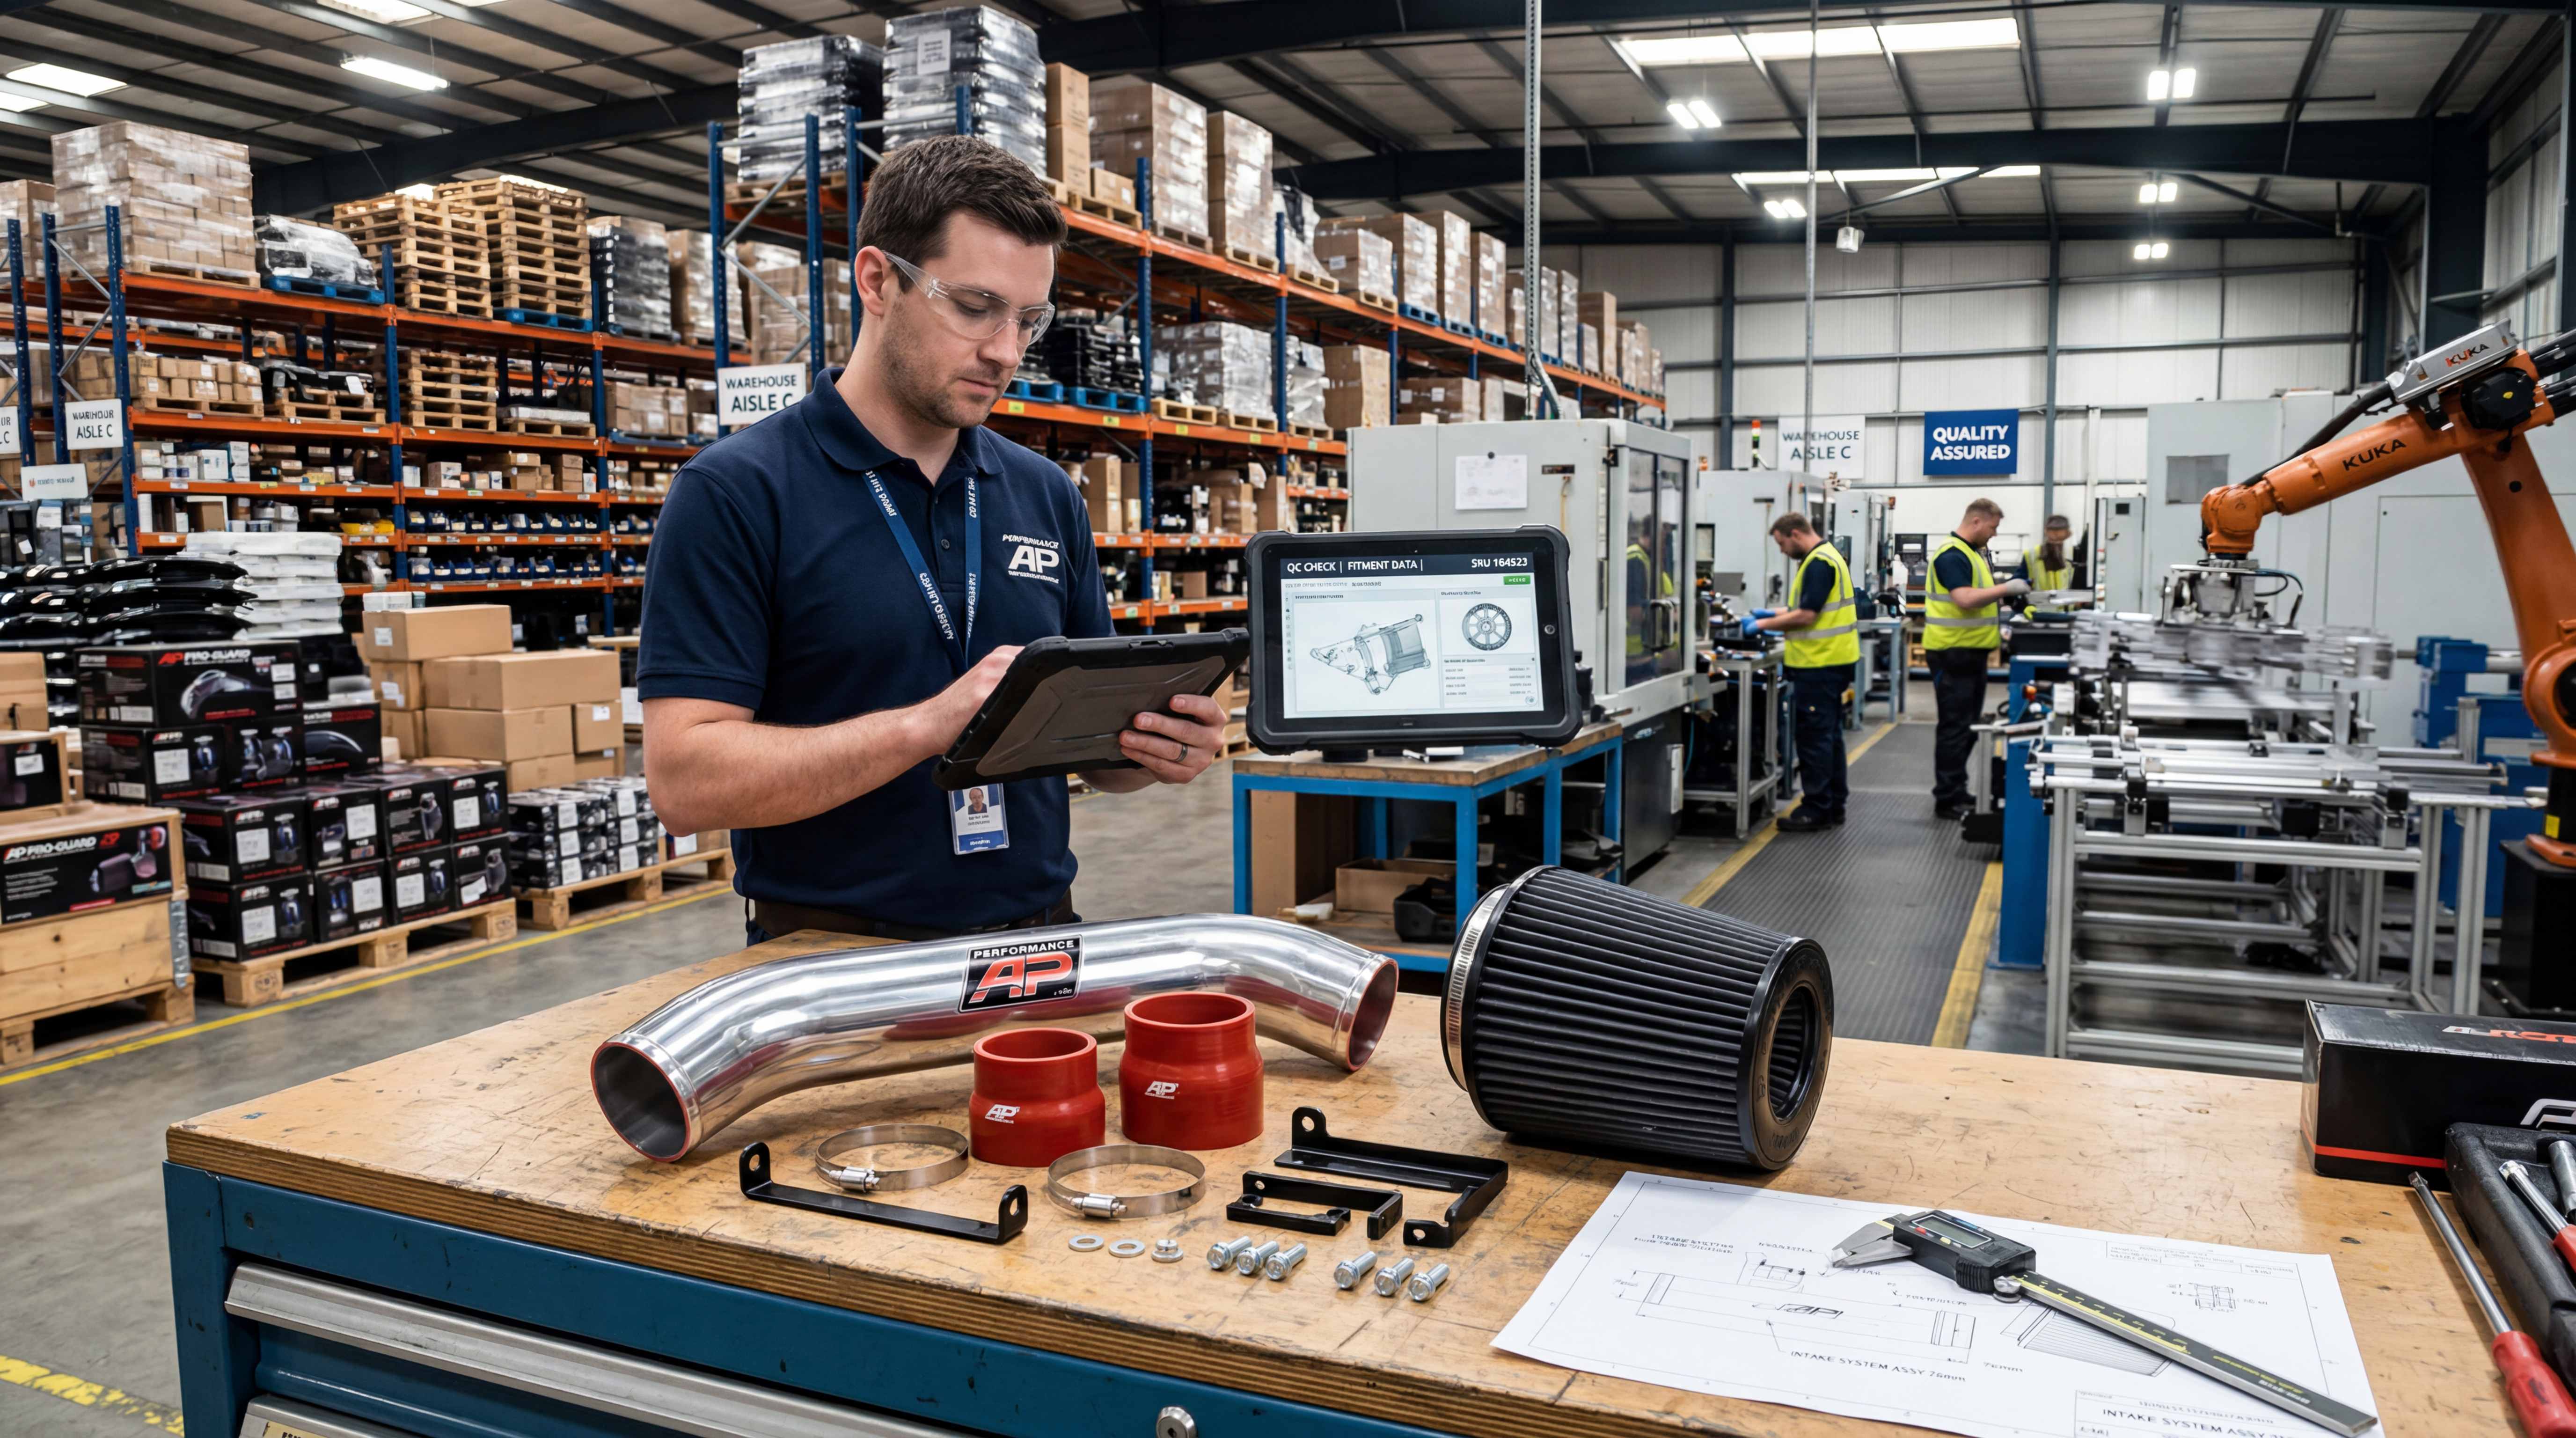
Intake quality control should include dimensional inspection, bracket location checks, sensor boss alignment, weld inspection, surface finish review, coupler sizing, clamp verification and packaging accuracy. For vehicle-specific kits, fixture control is especially important. A small bending error can cause the pipe to miss a mounting point or create engine bay interference.
Bending consistency matters in metal intake tubing. Mandrel bends should maintain shape and diameter. Rotation angles must be accurate. End lengths must match design drawings. Welded fittings must be placed correctly. If one pipe is slightly rotated compared with another, installation may become difficult.
Surface finish also affects perceived quality. Scratched polished aluminum, uneven powder coating or poorly finished welds can reduce customer confidence. Even if the part functions, visible defects can damage brand reputation.
Packaging inspection should not be ignored. Missing clamps, wrong coupler sizes, incorrect bolts or damaged filters can create immediate customer complaints. A good intake quality control process should verify the complete kit, not only the main pipe.
For B2B buyers, supplier evaluation should focus on repeatable production capability, not only attractive product photos.
Manufacturing Details That Affect Installation
Several manufacturing details directly affect air intake kit installation quality. One is pipe end preparation. If the pipe end is uneven, sharp or poorly deburred, it may damage silicone couplers or make installation difficult. Smooth, clean pipe ends improve both safety and sealing.
Another detail is bead rolling. In applications where coupler retention matters, bead-rolled ends help prevent the coupler from slipping. The bead should be consistent and not too aggressive. A poorly formed bead can damage silicone or create uneven sealing.
Weld quality also matters. Welded bungs, brackets and flanges should be strong and clean. A bracket weld that cracks can allow the intake pipe to move. A sensor bung weld that leaks can affect readings. A flange distorted by welding may not seal properly.
Hole quality is important for brackets and heat shields. Misaligned holes force installers to enlarge holes or bend parts. This makes the product feel unprofessional and can create stress in the assembly.
Hardware quality matters too. Bolts should match the mounting points. Washers should be included where needed. Rubber isolators should fit correctly. Clamps should match coupler thickness. A kit with low-quality hardware can make a high-quality pipe feel cheap.
The installation experience is shaped by these small manufacturing choices. Professional intake manufacturing pays attention to them.
NVH: Noise, Vibration and Harshness

Intake systems can affect noise, vibration and harshness, often called NVH. Many customers want more intake sound, but unwanted vibration, rattling or resonance is different from performance sound. A good intake kit should create controlled induction sound without annoying mechanical noise.
Rattling can come from loose heat shields, weak brackets, pipes touching body panels, clamps contacting nearby parts or hardware that loosens over time. Vibration can occur if the intake pipe is unsupported or installed under stress. Harsh resonance may result from removing factory resonators without considering cabin noise.
Factory intake systems often include resonators or duct shapes that reduce unwanted sound. Aftermarket systems may remove these components to increase sound and flow. That can be acceptable, but the result should be intentional. A performance intake sound should not come from parts shaking or rubbing.
Rubber mounting points, properly designed brackets and correct clearances help control NVH. Couplers also help absorb movement. Heat shields should be mounted securely. Clamps should not contact body panels.
For B2B buyers, NVH issues can lead to negative reviews even when the intake technically works. Customers may describe the product as poor quality if it rattles. Therefore, installation validation should include road testing, not only static fitment.
Heat Shield Fitment and Airbox Sealing
Heat shields and airboxes introduce another layer of fitment complexity. A heat shield must block heat while allowing airflow. It must fit around the engine bay, avoid contact with the hood and provide enough space for the filter. It must also mount securely.
A heat shield that does not seal well may allow hot engine bay air to enter the filter area. A shield that is too close to the filter may restrict airflow. A shield that touches the hood insulation may create wear or noise. A shield that uses weak mounting points may vibrate.
Airbox sealing is even more important for enclosed intake systems. Rubber seals should contact the intended surfaces. The lid should close evenly. The filter should be positioned correctly. If the airbox has a duct inlet, it should align with the vehicle’s air source.
For carbon fiber, plastic or metal airboxes, manufacturing accuracy is essential. Warped panels, uneven edges or inconsistent mounting holes can compromise sealing. For B2B products, the airbox should be checked as an assembly, not only as individual panels.
A good heat shield or airbox should support both thermal performance and installation confidence. If the installer has to guess how the shield should sit, the product design or documentation is incomplete.
Fitment Validation for B2B Buyers
B2B buyers should not evaluate an aftermarket intake kit only by sample appearance. They should ask how fitment was validated. Was the kit installed on the target vehicle? Was hood clearance checked? Were different model years or trims considered? Was the product tested after road driving?
A practical validation process should include test installation, removal and reinstallation. If a kit only fits after forceful adjustment, it is not a good direct-fit product. The supplier should also verify that all hardware is included and that ordinary tools are sufficient.
Buyers should inspect sensor fitment carefully. A MAF sensor intake design should preserve correct housing diameter, flange position and connector access. Any breather or vacuum fittings should match the original system. Turbo applications should be checked for pressure sealing and coupler retention.
Buyers should also review packaging. Pipes should not scratch each other in the box. Carbon fiber parts should be protected. Filters should not be crushed. Small hardware should be organized. Installation instructions should be included.
A strong B2B intake supplier should be able to discuss fitment, tolerance, leak prevention, bracket design and quality control. If the supplier only talks about price and appearance, the buyer should be cautious.
Common Installation Problems and Their Root Causes
Many installation problems have predictable root causes. A pipe that does not align may come from poor bending accuracy, wrong vehicle version or bracket location error. A coupler that slips may come from insufficient engagement, wrong coupler size, weak clamp or missing bead roll. A check engine light may come from sensor placement, intake leaks or disconnected hoses.
A rattling sound may come from poor bracket support, heat shield contact or insufficient clearance. A filter that does not fit properly may come from incorrect pipe length, limited space or wrong filter angle. A hood that does not close smoothly may indicate airbox or pipe height problems.
A difficult installation may also come from poor instructions. If users do not know which clamp goes where, which bolt to reuse or how to orient the sensor, errors become more likely. In this case, the product may be mechanically acceptable but poorly supported.
By identifying root causes, manufacturers can improve products systematically. They can adjust fixtures, revise brackets, change coupler length, add bead rolling, improve documentation or update compatibility notes.
Good intake quality control is not about blaming the installer. It is about designing a kit that reduces the chance of mistakes.
How Fitment Quality Affects Brand Reputation
Fitment quality has a direct effect on brand reputation. In the aftermarket, customers often share installation experiences in reviews, forums, videos and social media. A product that installs easily earns trust. A product that requires cutting, bending or guessing can receive negative feedback even if the pipe itself looks good.
For distributors, fitment problems increase returns and support costs. Customers may ask for replacement parts, refunds or technical assistance. Workshops may avoid brands that create installation delays. Online reviews may reduce conversion rates.
For manufacturers, fitment quality is a competitive advantage. Many intake products look similar in photos. The difference appears when customers install them. A brand that consistently delivers accurate fitment can justify higher pricing and stronger B2B relationships.
Fitment quality also supports repeat purchases. If a buyer trusts one vehicle-specific intake kit, they may source more models from the same supplier. If the first kit creates problems, the buyer may switch suppliers quickly.
In this sense, intake system fitment is not only an engineering topic. It is a business asset.
A Practical Intake Installation Quality Checklist
A professional intake installation quality checklist should begin before installation. Confirm the vehicle model, engine, year and trim. Compare all parts with the parts list. Check pipe finish, coupler sizes, clamps, brackets, sensor hardware and filter condition.
During installation, check that the pipe routes naturally without forcing. Confirm engine bay clearance around the pipe, filter, heat shield and airbox. Install brackets without stress. Seat couplers fully. Tighten clamps evenly. Install sensors in the correct orientation. Connect all breather hoses, vacuum lines and electrical connectors.
After installation, check hood clearance. Start the engine and listen for leaks, rattles or unusual idle behavior. Inspect whether the pipe moves excessively. Check whether any component is touching hot or moving parts. For MAF-based systems, monitor for warning lights or abnormal idle. For turbocharged systems, perform an intake leak test or pressure test when appropriate.
After a short road test, recheck clamps and clearances. Heat and vibration can reveal issues that are not visible during static installation.
This checklist is useful for installers, but it is also valuable for manufacturers. It defines the real customer experience. If a kit passes this checklist consistently, it is more likely to succeed in the market.
Final Perspective: Reliable Intake Kits Are Engineered for the Installer
A reliable aftermarket intake kit is not only engineered for airflow. It is engineered for installation. The product must fit the engine bay, clear surrounding components, support engine movement, seal properly, hold sensors accurately and remain stable after real driving.
Intake system fitment is where design, manufacturing and customer experience meet. A polished aluminum pipe, carbon fiber airbox or high-flow filter may attract attention, but brackets, couplers, clamps, sensor flanges, leak prevention and documentation determine whether the product is trusted after purchase.
For drivers, fitment quality means easier installation and fewer problems. For workshops, it means less labor time and fewer customer complaints. For distributors, it means lower return risk. For B2B buyers, it provides a practical framework for supplier evaluation. For manufacturers, it shows that product value is created not only in the main pipe, but in the entire installation system.
In the Intake category, the best products are not the ones that only look powerful. They are the ones that install cleanly, seal reliably, fit repeatedly and continue working after heat, vibration and real use. That is the difference between an intake pipe and a professional aftermarket intake kit.
Focused FAQ
What does intake system fitment mean?
Intake system fitment means how accurately an intake kit fits the target vehicle. It includes pipe routing, engine bay clearance, bracket alignment, sensor fitment, coupler position, clamp access, filter location, heat shield fitment and hood clearance.
Why is engine bay clearance important for an intake kit?
Engine bay clearance prevents rubbing, vibration, heat exposure and interference with nearby components. A pipe that fits too tightly may contact the body, hoses, wiring, radiator fan, engine cover or hood insulation after real driving.
What does an intake pipe bracket do?
An intake pipe bracket supports the pipe, controls vibration and keeps the system aligned. A poor bracket can place stress on couplers, sensors or throttle body connections, leading to movement, noise or long-term failure.
Why are silicone couplers and clamps important?
Silicone couplers and clamps seal the intake system and connect rigid pipe sections. Correct coupler sizing, clamp quality, pipe engagement and clamp access help prevent leaks, slipping and installation problems.
What is an intake leak test?
An intake leak test checks whether unwanted air is entering or escaping the intake system. It may include visual inspection, smoke testing or pressure testing, especially in turbocharged systems. Leak testing helps verify sealing quality after installation.
What is the difference between a vehicle-specific intake and a universal intake?
A vehicle-specific intake is designed to fit a particular vehicle model, engine and chassis with minimal modification. A universal intake is a flexible component kit that usually requires cutting, fitting or custom fabrication.
Can poor intake fitment cause a check engine light?
Yes. Poor intake fitment can cause leaks, incorrect sensor positioning, disconnected hoses or unstable airflow readings. These issues may trigger a check engine light, especially in MAF-based intake systems.
What should be included in air intake kit installation instructions?
Good instructions should include a parts list, tool requirements, installation sequence, sensor orientation, bracket mounting points, clamp orientation, hose routing, leak-check steps and final clearance inspection.
How do B2B buyers evaluate intake quality control?
B2B buyers should check dimensional consistency, bracket alignment, sensor boss accuracy, weld quality, pipe finish, coupler sizing, clamp quality, hardware completeness, packaging protection, fitment testing and batch consistency.
Why does fitment quality affect aftermarket intake brand reputation?
Fitment quality affects installation time, customer satisfaction, return rates, online reviews and workshop trust. A product that installs cleanly and works reliably builds stronger brand credibility than one that only looks good in product photos.
#IntakeSystemFitment #IntakeInstallation #IntakePipeBracket #SiliconeCouplerClamp #AirIntakeKitInstallation #VehicleSpecificIntake #IntakeLeakTest #EngineBayClearance #AftermarketIntakeKit #IntakeQualityControl #AutomotiveComponents #MetalPipesAndBending