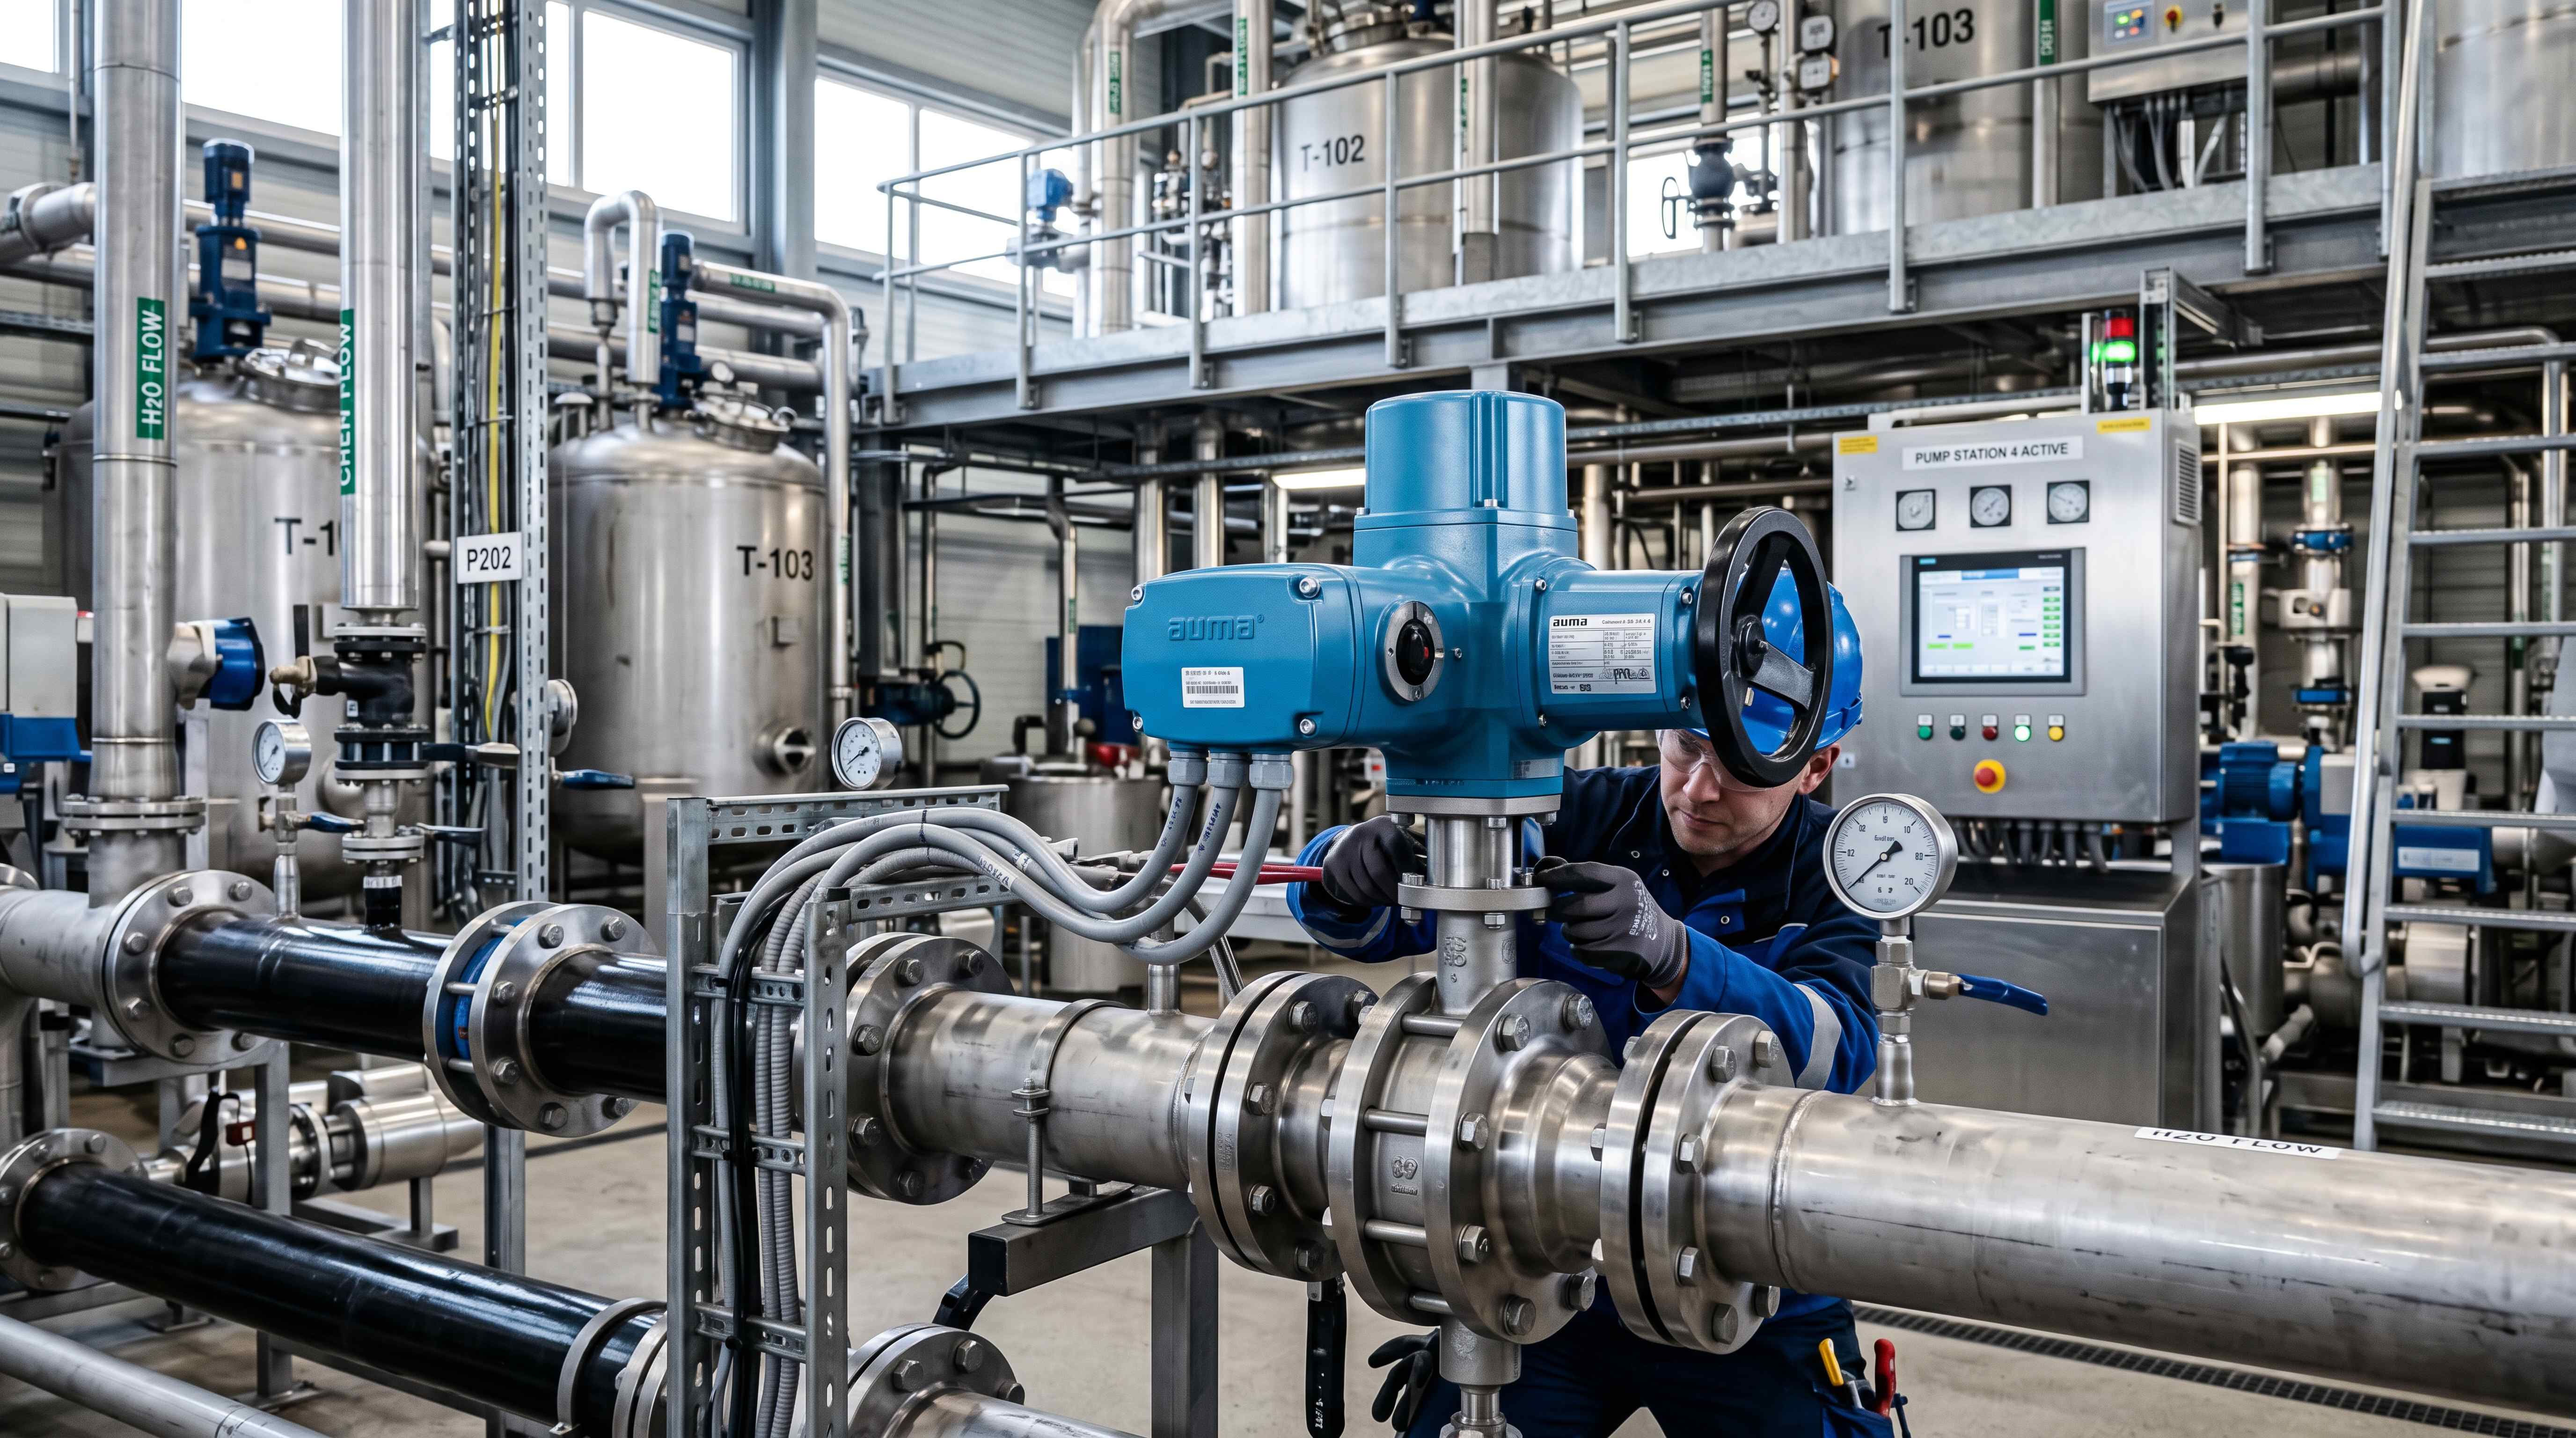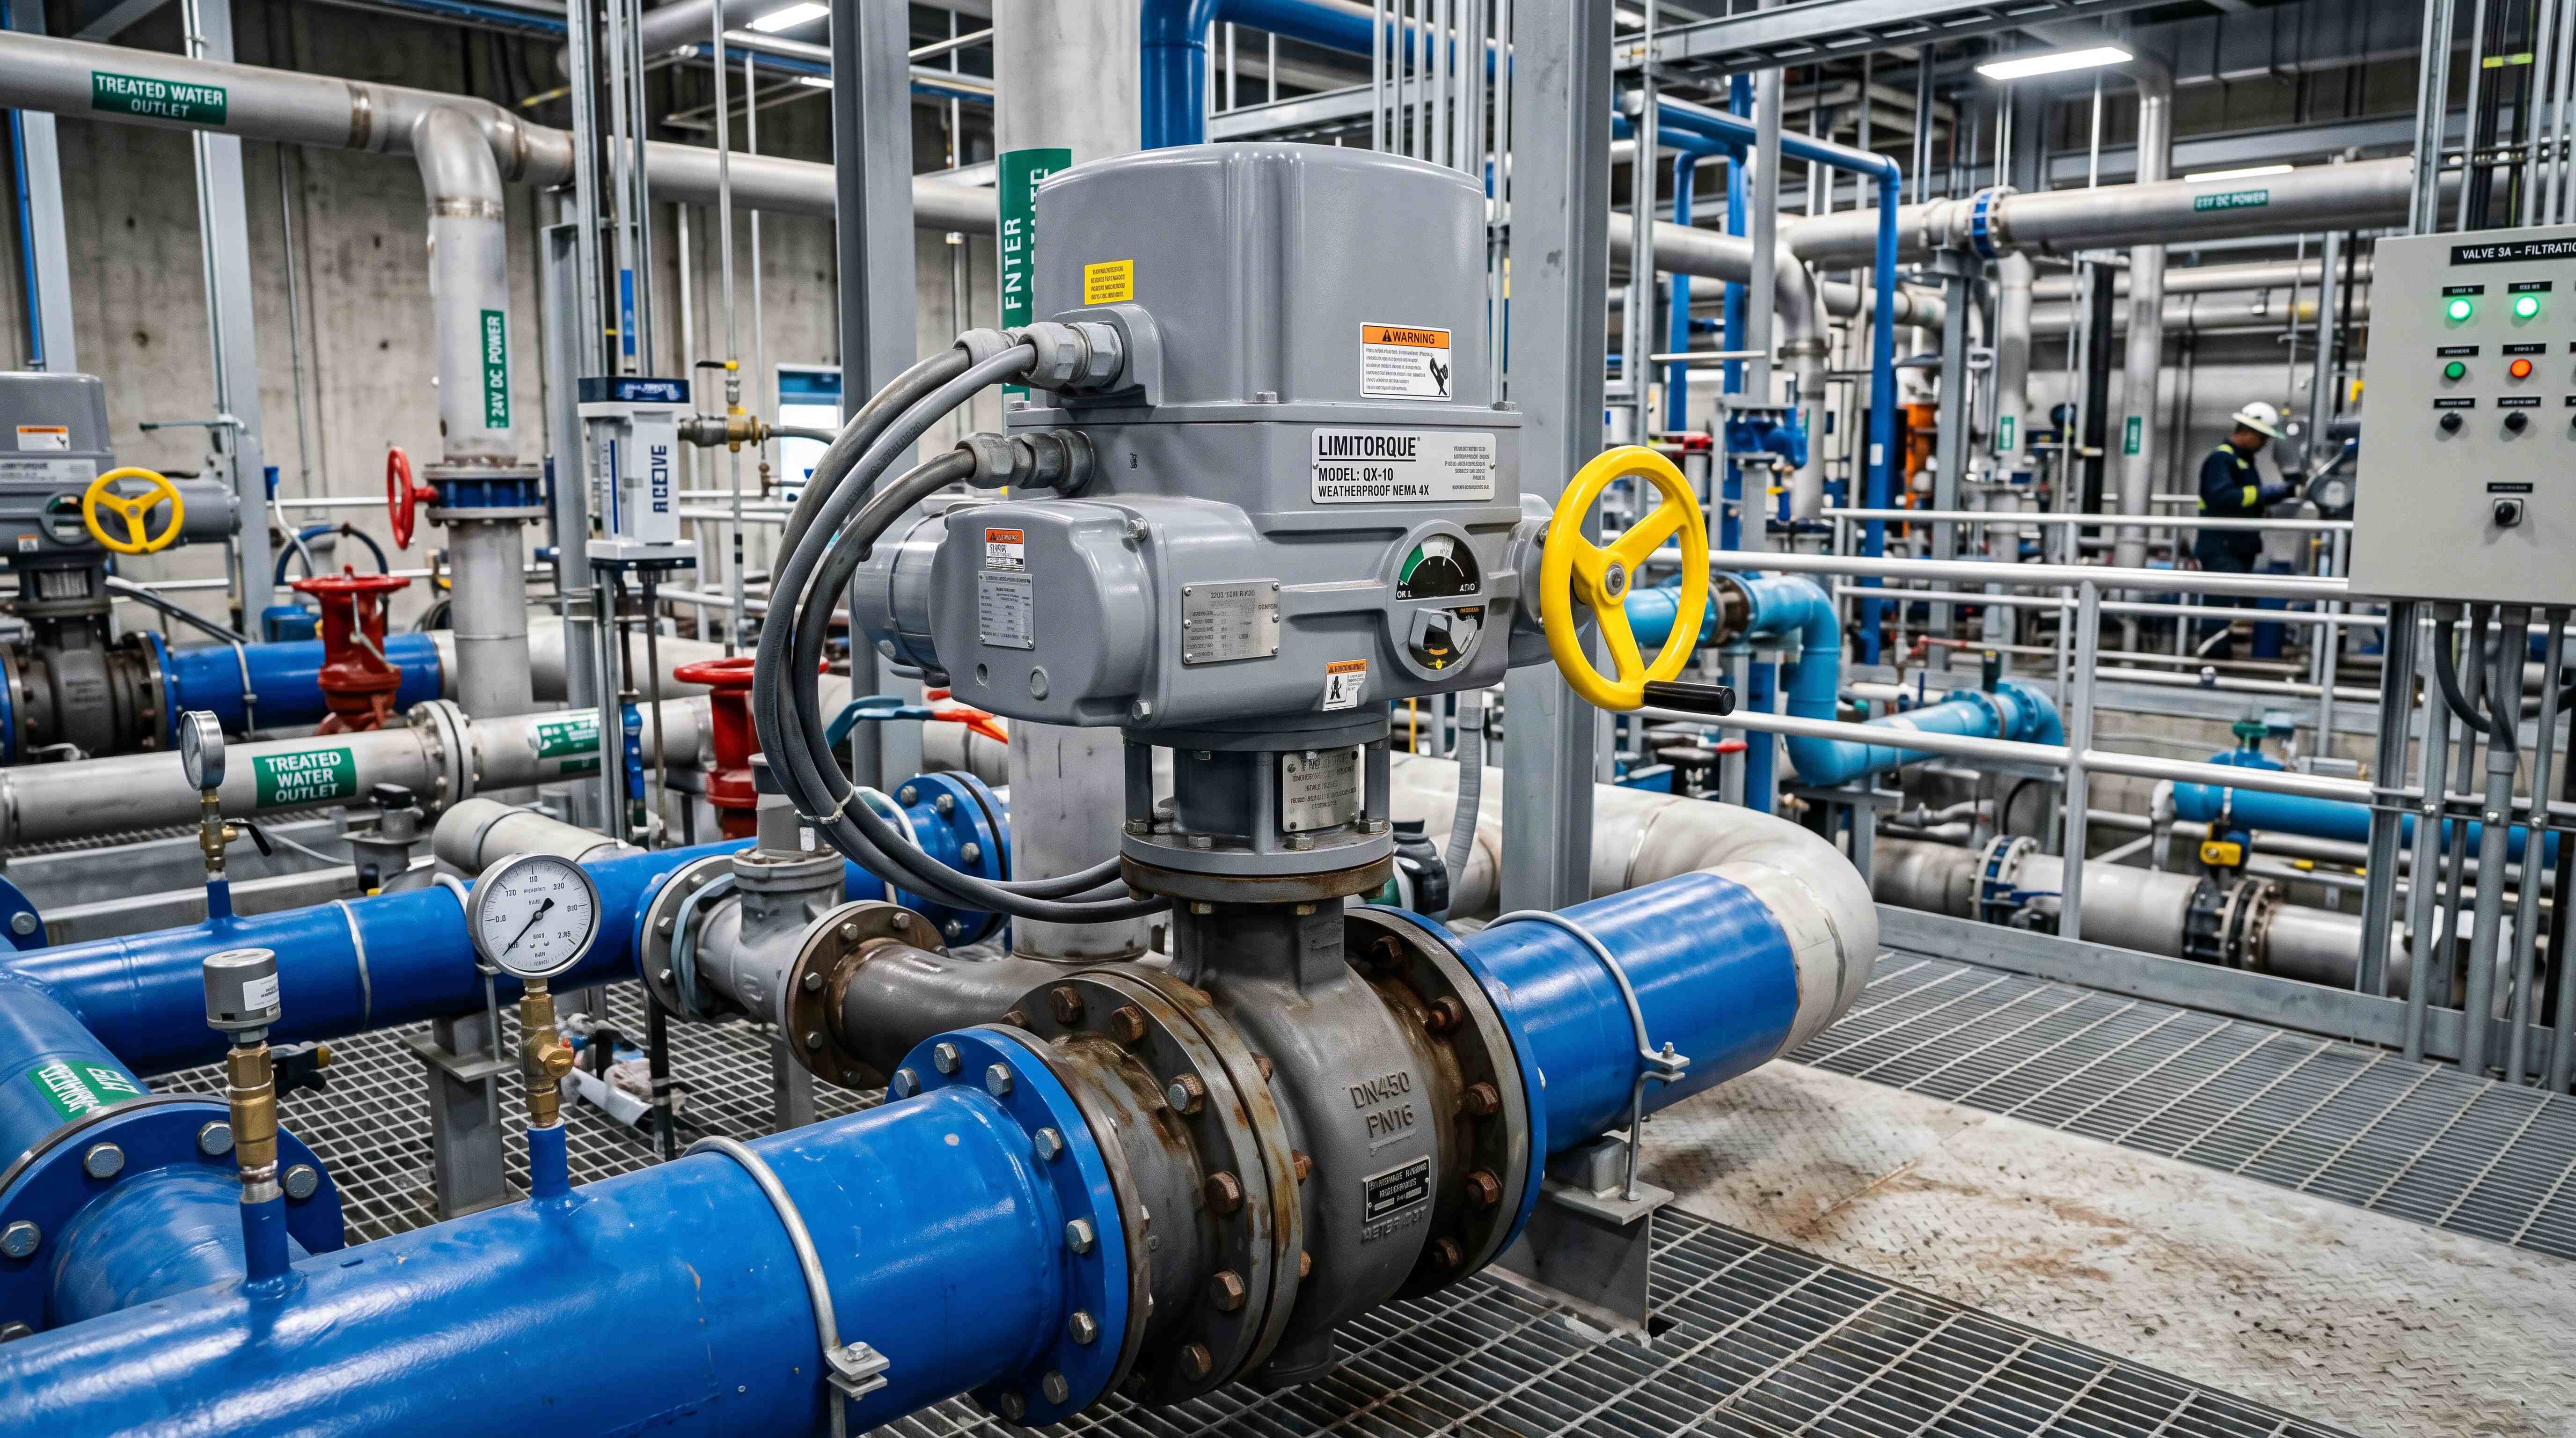
Electric Actuator Valve Not Opening or Closing? Common Problems and Fixes
When an Electric Actuator Fails, Do Not Blame the Actuator First
When an electric actuator valve does not open or close, the first reaction is often to assume that the actuator is defective. In real industrial valve automation, this assumption is often too early. An actuator failure symptom can come from many places: power supply, control signal, wiring, limit switch setting, torque overload, valve stem resistance, incorrect mounting, feedback circuit, PLC logic, local/remote mode, process pressure, or even the valve itself.
That is why electric actuator troubleshooting should be systematic. A technician should not randomly replace parts, swap wires, reset settings or force the valve manually before understanding the failure mode. A motorized valve not working may be a true actuator fault, but it may also be a control system problem, a mechanical valve problem, or an installation issue.
An electric actuator is only one part of an automated valve system. The system includes the valve body, valve stem, actuator gearbox, motor, terminal wiring, control panel, PLC outputs, feedback inputs, limit switches, torque protection, power supply, cable glands, local controls and process conditions. A fault in any part of that chain can make the actuator appear to fail.
For example, an electric actuator not opening may be caused by no open command from the PLC, a missing neutral wire, a wrong voltage supply, an actuator left in local mode, a closed limit switch set incorrectly, a jammed valve, a torque trip, or a failed motor. These causes require different actions. Replacing the actuator without diagnosing the system may not solve the problem.
The purpose of this guide is to provide a practical troubleshooting framework for electric valve actuator problems. It focuses on common symptoms, likely causes and field-level diagnostic thinking for ball valves, butterfly valves and general industrial valve automation systems.
Start With the Symptom, Then Narrow the Cause
The first step in troubleshooting is to describe the symptom accurately. “The actuator does not work” is too vague. A better description helps narrow the cause quickly.
A clear symptom may be:
The actuator does not move in either direction.
The actuator opens but does not close.
The actuator closes but does not open.
The motor runs but the valve does not move.
The actuator stops halfway.
The valve reaches position, but feedback is wrong.
The actuator works locally but not remotely.
The actuator works manually but not electrically.
The actuator trips on torque.
The actuator overheats.
The valve does not fully seat.
The PLC shows fault even though the valve appears to move.
Each symptom points to a different diagnostic path. For example, if the actuator does not move in either direction, start with power supply, fuse, control mode and motor circuit. If it moves in one direction only, check directional control wiring, open/close command logic and limit switch status. If the motor runs but the valve does not move, check coupling, stem, gearbox and mechanical connection.
This symptom-first approach saves time because it avoids treating every failure as the same problem.
Safety Comes Before Troubleshooting
Before working on an electric actuator, safety must come first. Actuators can move valves unexpectedly, and valves may control pressurized water, steam, chemicals, fuel, air, hot media or other process fluids. Electrical power may also be present inside the actuator terminal box or control cabinet.
Technicians should follow site lockout and isolation procedures before opening terminal covers, adjusting limit switches, removing actuators, operating manual override or disconnecting wiring. The process line should be evaluated before moving the valve. A valve that appears harmless may isolate pressure, drain a tank, start flow through a pump line or change a chemical process.
Do not force a stuck valve with excessive manual torque. If the valve is jammed, forcing it may damage the stem, seat, gearbox or actuator. Do not bypass torque protection without understanding why the actuator tripped. Torque protection exists to prevent mechanical damage.
Troubleshooting should be performed by qualified personnel who understand electrical control systems, valve mechanics and site safety requirements. A good diagnostic process is not only about fixing the actuator. It is about avoiding unsafe valve movement and preventing further damage.
Check Power Supply Before Checking Advanced Faults

Power supply problems are among the most common causes of electric valve actuator problems. Before investigating limit switches, torque settings or feedback circuits, confirm that the actuator is receiving the correct voltage.
Check the actuator nameplate and wiring diagram. Confirm whether the actuator requires 24V DC, 24V AC, 110V AC, 120V AC, 220V AC, 230V AC or another supply. A wrong voltage supply can prevent movement or damage internal components.
Measure voltage at the actuator terminals, not only at the control cabinet. Long cable runs, loose terminals, undersized wires or voltage drop can reduce voltage at the actuator. The actuator may appear powered but fail under load.
Also check fuses, breakers, power relays and local disconnect switches. In some systems, the actuator has a permanent power supply plus separate control inputs. In other systems, power is applied only during open or close commands. Misunderstanding this difference can lead to false diagnosis.
For DC actuators, polarity matters. Some compact motorized valve actuators use polarity reversal to change direction. If polarity is wrong, the actuator may move in the wrong direction or not move as expected.
A simple rule: before assuming an actuator failure, verify correct power, correct voltage, correct terminals and power under real command conditions.
Electric Actuator Not Opening
An electric actuator not opening is a common field complaint. The cause can be electrical, mechanical or control-related.
First, confirm that the actuator receives an open command. In a PLC-controlled system, check whether the PLC output is active. If a relay is used, confirm that the relay contact closes. If a local switch is used, confirm that the open contact works.
Second, check whether the actuator is in remote mode. Many industrial actuators have local/off/remote selectors. If the selector is in local or off mode, remote commands may be ignored. This can make the actuator appear faulty even though it is simply not accepting remote control.
Third, check the open direction wiring. In a 3-wire actuator, the open command wire may be disconnected, loose or connected to the wrong terminal. In a relay circuit, the open relay may have failed. In a DC actuator, polarity or control wiring may be incorrect.
Fourth, check the open limit switch. If the actuator incorrectly thinks it is already open, it may not move further in the opening direction. This can happen if the open limit switch is misadjusted, stuck or wired incorrectly.
Fifth, check for torque trip or mechanical blockage. If the valve is stuck closed, the actuator may try to open and then stop due to overload. A ball valve, butterfly valve or gate valve can become difficult to open due to pressure, corrosion, sediment, seat adhesion, temperature effects or long periods without operation.
Sixth, use manual override carefully to test valve movement. If the valve cannot be moved manually, the problem is likely mechanical rather than electrical. If it moves manually but not electrically, return to power, wiring, motor and control logic.
An electric actuator not opening should be diagnosed from command to movement: control signal, actuator mode, wiring, limit switch, torque condition and valve mechanics.
Electric Actuator Not Closing
An electric actuator not closing is equally important because many valves are expected to isolate flow, stop filling, prevent leakage or move to a safe position. If the actuator opens but does not close, the problem is often directional rather than total power failure.
Start by checking whether the close command is being sent. Confirm PLC output, relay contact, control switch and terminal voltage during the close command.
Next, check close direction wiring. In many electric valve actuator wiring systems, open and close commands use separate terminals. A loose close wire, failed relay or wrong terminal connection can allow opening but prevent closing.
Then inspect the closed limit switch. If the actuator incorrectly believes it is already closed, it may not drive toward closed. A misadjusted limit switch can stop the actuator before the valve fully seats. This can create a serious issue: the control system may show closed while the valve is still leaking.
Mechanical resistance is also common. A valve may open easily but require higher torque to close because of seat friction, debris, pressure differential or flow forces. Butterfly valves, for example, may experience dynamic forces from flow. Ball valves may require seating torque at the end of travel.
If the actuator trips near the closed position, do not simply increase torque without checking the valve. The valve seat may be damaged, debris may be trapped, or the actuator may be misaligned. Excessive torque can make the problem worse.
For critical isolation valves, confirm real valve closure, not only actuator position. The actuator position indicator and feedback signal should match actual valve condition.
Motorized Valve Not Working in Either Direction
When a motorized valve is not working in either direction, the likely causes are broader. This symptom suggests a shared issue affecting both open and close movement.
Common causes include no power, wrong voltage, blown fuse, tripped breaker, disconnected common wire, failed control transformer, local/off mode, emergency stop circuit, motor overload, failed control board or internal motor fault.
The first test is voltage. Confirm incoming power at the actuator. Then confirm voltage at the control input terminals during open and close commands. If no control signal reaches the actuator, the problem may be upstream in the control panel or PLC.
If power and command are present, check whether the actuator display, status LED or fault indicator shows an alarm. Some actuators indicate torque trip, thermal overload, local mode, phase error, communication fault or travel fault.
If the actuator has a manual override, try to move the valve manually after confirming process safety. If the valve is mechanically stuck, the actuator may be unable to move in either direction. If the valve moves manually and power is correct, the actuator motor, control board or internal wiring may need deeper inspection.
In industrial systems, do not overlook interlocks. A PLC may intentionally block actuator movement because another condition is not satisfied. For example, a pump may need to stop before a valve closes, or a tank level condition may prevent opening. The actuator may be fine, but the control logic is preventing movement.
Actuator Runs but Valve Does Not Move
If the actuator motor runs but the valve does not move, the problem is usually mechanical transmission.
Possible causes include a loose coupling, broken stem, stripped gear, damaged output drive, disengaged manual override, incorrect mounting, sheared key, broken adapter or actuator not properly connected to the valve shaft.
This symptom is especially important because the control system may believe the actuator is operating. If feedback comes from the actuator position rather than actual valve position, a mechanical disconnection can create false status. The actuator may show open, but the valve may remain closed.
To diagnose this problem, observe the actuator output and valve stem during movement if safe. Check whether the output shaft rotates. Check whether the valve stem rotates with it. Check coupling screws, brackets and adapters. For quarter-turn valves, confirm that the valve stem and actuator output move together through the correct 90-degree travel.
For butterfly valves and ball valves, coupling alignment matters. Misalignment can cause binding, uneven load and eventual mechanical failure. For multi-turn valves, check stem engagement and handwheel behavior.
This type of failure is a reminder that electric actuator troubleshooting should always include both electrical and mechanical inspection.
Electric Ball Valve Stuck

An electric ball valve stuck in one position is a common issue in water, HVAC, chemical and utility systems. The actuator may be working, but the valve may be difficult to move.
A ball valve can stick due to seat adhesion, scale buildup, corrosion, debris, chemical residue, high pressure differential, temperature effects or long periods without operation. Soft seats may grip the ball after long inactivity. Dirty media can leave deposits that increase torque.
If an electric ball valve stuck closed cannot be opened by the actuator, check whether the actuator trips on torque or stalls. Use manual override carefully to evaluate resistance. If manual force is high, the valve needs inspection.
Do not assume that a larger actuator is always the correct fix. Oversizing the actuator may force the valve to move but can damage the stem or seat. The better solution may be cleaning, valve replacement, better media filtration, periodic cycling or selecting a valve designed for the process.
For automated systems, periodic exercise cycles can help prevent valves from sticking. A valve that stays in one position for months may require higher breakaway torque than expected.
Electric actuator maintenance should include checking valve movement, not only actuator electronics.
Actuator Limit Switch Problem
An actuator limit switch problem can cause many confusing symptoms. The actuator may stop too early, overtravel, fail to stop, refuse to move in one direction, give wrong feedback or show incorrect open/closed status.
Limit switches usually perform two roles. Internal limit switches stop the actuator at end positions. Auxiliary limit switches send open or closed feedback to the control system. Some actuators combine these functions, while others separate them.
If the open limit is set too early, the valve may not fully open. If the closed limit is set too early, the valve may not fully close. If the limit switch is set too late, the actuator may apply excessive force at the end of travel. This can stress the valve and actuator.
Incorrect limit switch wiring can also create a valve actuator feedback error. The PLC may receive an open signal when the valve is not open, or a closed signal when the valve is still partially open.
During troubleshooting, verify the actual valve position at both end points. Do not rely only on the actuator display. Check the mechanical position indicator, valve stem position, flow behavior and feedback status.
After adjustment, test several open-close cycles. Limit switch problems can appear only after repeated operation if the cam, switch or gear has looseness.
Actuator Torque Trip
An actuator torque trip occurs when the actuator detects excessive resistance. This is a protective function, not just a nuisance alarm. It prevents the actuator from applying destructive force to the valve.
Common causes include a jammed valve, debris in the valve, high differential pressure, dry or corroded stem, misaligned coupling, incorrect actuator mounting, wrong torque setting, damaged gearbox or valve seat problem.
A torque trip during opening may indicate high breakaway torque or a valve stuck closed. A torque trip during closing may indicate seating resistance, debris, over-tight seat, flow force or wrong closed limit setting.
Do not immediately increase the torque setting. First, find out why torque is high. Increasing torque may temporarily allow movement but can damage the valve stem, seat or actuator gearbox.
Check whether the valve can move manually. Check process pressure. Check whether the valve has been inactive for a long time. Inspect for corrosion or debris. Confirm that the actuator is correctly aligned and not side-loading the stem.
For large industrial valve actuator applications, torque settings should follow valve manufacturer recommendations and commissioning procedures. Torque protection should be treated as a diagnostic signal, not an obstacle to bypass.
Valve Actuator Feedback Error

A valve actuator feedback error means the control system does not receive the expected position signal. This can happen even when the actuator itself moves correctly.
Common feedback problems include wrong auxiliary switch wiring, loose terminals, incorrect normally open or normally closed logic, broken feedback wire, wrong PLC input common, failed limit switch, incorrect analog scaling or feedback from actuator position instead of valve position.
For on/off actuators, feedback usually comes from open and closed limit switches. Check whether the switches change state at the correct positions. Confirm that the PLC input responds correctly.
For modulating actuators, feedback may be 4-20mA or 0-10V. Check signal scaling. A 12mA feedback may represent 50% open in one system, but only if the actuator and PLC are configured consistently. If the PLC scaling is wrong, the HMI may display incorrect position.
A feedback error can also come from mechanical disconnection. The actuator may rotate, and the feedback device may report movement, but the valve may not move because the coupling is loose. In critical systems, feedback design should consider actual valve stem position where possible.
Valve feedback should be verified during commissioning at closed, partially open and open positions. This is especially important for modulating control and remote operation.
Local Mode Works but Remote Mode Fails
A common field complaint is that the actuator works using local controls but does not respond to remote commands from the PLC or control room.
This usually means the actuator motor and mechanical system are functional. The fault is likely in remote control logic, wiring, mode selection or interlocks.
First, confirm that the actuator selector is in remote mode. If it is in local mode, remote commands may be intentionally blocked. Some actuators provide a local/remote status contact. Wiring this signal to the PLC can reduce confusion.
Second, check whether remote command voltage reaches the actuator terminals. If the PLC output turns on but no voltage reaches the actuator, the problem may be a relay, fuse, terminal, cable or interposing circuit.
Third, check PLC logic. The command may be blocked by permissives, alarms, emergency stop, process sequence conditions or safety interlocks.
Fourth, check remote/local configuration inside the actuator. Some smart actuators require parameter settings for remote control source, command type or communication mode.
Fifth, confirm that the actuator is not in a fault state. Some actuators will ignore remote commands until faults are reset.
This symptom is a good example of why troubleshooting must include the control system, not just the actuator body.
Actuator Overheating
Electric actuator overheating can result from excessive duty cycle, high torque load, frequent cycling, incorrect voltage, poor ventilation, high ambient temperature, internal motor problems or control loop instability.
Duty cycle is often the main issue. An actuator designed for occasional open/close operation should not be used for continuous modulation. If a control system sends frequent small adjustments, the motor may run too often and overheat.
High torque load can also cause overheating. If the valve is stiff, the actuator motor works harder. Even if it completes the movement, repeated high-load operation can raise temperature.
Incorrect voltage can create motor stress. Low voltage may cause higher current draw and weak performance. Wrong voltage can damage the motor or control electronics.
For modulating service, check whether the control loop is hunting. If the actuator constantly moves back and forth because the control deadband is too narrow or feedback is noisy, overheating may occur.
Electric actuator maintenance should include reviewing actual operating frequency. Sometimes the actuator is not wrongly selected for torque, but wrongly selected for duty cycle.
Water Ingress and Environmental Damage
Outdoor or washdown applications often experience actuator problems caused by water ingress. Moisture can enter through poor cable glands, damaged seals, loose covers, condensation, cracked enclosures or incorrect installation orientation.
Symptoms may include intermittent operation, blown fuses, corrosion on terminals, unstable feedback, control board failure or motor insulation problems.
Cable entries are a common weak point. A high enclosure rating is not useful if cable glands are poorly installed. Terminal covers should be properly sealed after wiring. Drainage and condensation protection should be considered in humid environments.
Chemical environments can also damage actuator housings, fasteners, seals and cable jackets. Coastal or marine environments may accelerate corrosion.
When electric valve actuator problems appear repeatedly in outdoor locations, inspect environmental protection carefully. Replacing the actuator without improving sealing may lead to repeated failure.
A Practical Troubleshooting Sequence
A structured troubleshooting sequence helps avoid missed causes.
First, identify the exact symptom. Does the actuator fail in one direction, both directions, remotely only, locally only, or only under load?
Second, check safety and isolate the system if required.
Third, verify power supply at the actuator terminals.
Fourth, confirm control commands at the actuator terminals during operation.
Fifth, check actuator mode: local, remote, off, manual or fault.
Sixth, inspect fuses, relays, PLC outputs, interlocks and wiring.
Seventh, check limit switch status and end-position settings.
Eighth, check feedback signals and PLC input response.
Ninth, test manual movement if safe.
Tenth, inspect mechanical coupling, valve stem and mounting alignment.
Eleventh, evaluate process conditions such as pressure, debris, temperature or corrosion.
Twelfth, review duty cycle and operating history.
This sequence moves from simple and external causes toward deeper mechanical and internal causes. It reduces the chance of replacing a good actuator while missing the real problem.
Preventive Electric Actuator Maintenance
Good troubleshooting solves problems after they appear. Good electric actuator maintenance reduces the chance of problems appearing.
A maintenance plan should include visual inspection, wiring terminal checks, cable gland inspection, enclosure sealing, local operation test, remote operation test, limit switch verification, feedback signal verification, manual override test, fault history review and valve movement check.
Valves that rarely move should be exercised periodically if the process allows it. This can reduce sticking and reveal problems before emergency operation is needed.
For modulating actuators, check calibration and feedback scaling. Confirm that command and actual position match. Review whether the actuator is cycling too frequently.
For outdoor actuators, inspect for water ingress, corrosion and damaged seals. For dusty or chemical areas, inspect enclosure condition and cable protection.
Maintenance should include the valve, not only the actuator. A healthy actuator cannot compensate forever for a deteriorating valve.
The Best Fix Starts With the Right Diagnosis
Electric actuator troubleshooting is not about guessing the most likely broken part. It is about understanding the entire valve automation chain.
A failed actuator symptom may come from electrical power, control logic, wiring, limit switches, torque overload, feedback error, mechanical coupling, valve resistance or process conditions. The same symptom can have different causes in different systems.
For example, electric actuator not closing may be caused by a failed close relay, wrong PLC output, misadjusted closed limit switch, debris in the valve seat, high torque at seating, or an actuator in local mode. Each cause requires a different fix.
The most reliable troubleshooting method is to follow the signal and force path. Follow the command from controller to actuator. Follow the power from supply to motor. Follow the mechanical movement from motor to gearbox to stem to valve. Follow the feedback from switch or sensor back to the PLC.
When all parts of that chain are checked, the real cause becomes much easier to find.
Focused FAQ
Why is my electric actuator not opening?
An electric actuator not opening may be caused by no open command, wrong wiring, local/off mode, incorrect limit switch setting, torque trip, low voltage, control relay failure or a mechanically stuck valve.
Why is my electric actuator not closing?
An electric actuator not closing may be caused by a missing close command, failed close relay, wrong terminal wiring, misadjusted closed limit switch, debris in the valve, high seating torque or valve stem resistance.
Why is my motorized valve not working at all?
A motorized valve not working in either direction may have no power, wrong voltage, blown fuse, tripped breaker, missing common wire, control board fault, local/off mode, PLC interlock or internal motor failure.
What causes an electric ball valve stuck closed?
An electric ball valve stuck closed may be caused by seat adhesion, corrosion, scale, debris, high pressure differential, chemical buildup or long periods without operation. The actuator may trip if breakaway torque is too high.
What is an actuator limit switch problem?
An actuator limit switch problem occurs when the open or closed position switch is misadjusted, stuck, damaged or wired incorrectly. It can cause early stopping, overtravel, wrong feedback or refusal to move in one direction.
What does actuator torque trip mean?
An actuator torque trip means the actuator detected excessive resistance. It may be caused by a jammed valve, debris, high pressure, misalignment, dry stem, wrong torque setting or mechanical damage.
Why does the actuator work locally but not remotely?
If local control works but remote control fails, check remote mode selection, PLC output, relay wiring, control terminals, interlocks, emergency stop circuits and actuator remote configuration.
Why does the PLC show wrong valve position?
A PLC may show wrong valve position because of incorrect feedback wiring, wrong normally open or normally closed logic, bad limit switch adjustment, analog scaling error or mechanical disconnection between actuator and valve.
Why is my electric actuator overheating?
Electric actuator overheating may be caused by excessive duty cycle, frequent cycling, high valve torque, low voltage, high ambient temperature, poor ventilation or unstable modulating control.
How can electric actuator maintenance prevent failures?
Electric actuator maintenance can prevent failures by checking wiring, seals, cable glands, limit switches, feedback signals, manual override, fault history, valve movement and environmental protection on a regular schedule.
#ElectricActuatorTroubleshooting
#ElectricActuatorNotOpening
#ElectricActuatorNotClosing
#ElectricValveActuatorProblems
#MotorizedValveNotWorking
#ActuatorLimitSwitchProblem
#ActuatorTorqueTrip
#ElectricBallValveStuck
#ValveActuatorFeedbackError
#ElectricActuatorMaintenance
#ValveAutomation
#IndustrialValveControl
#ProcessAutomation
#IndustrialMaintenance
#AutomatedValveSystem