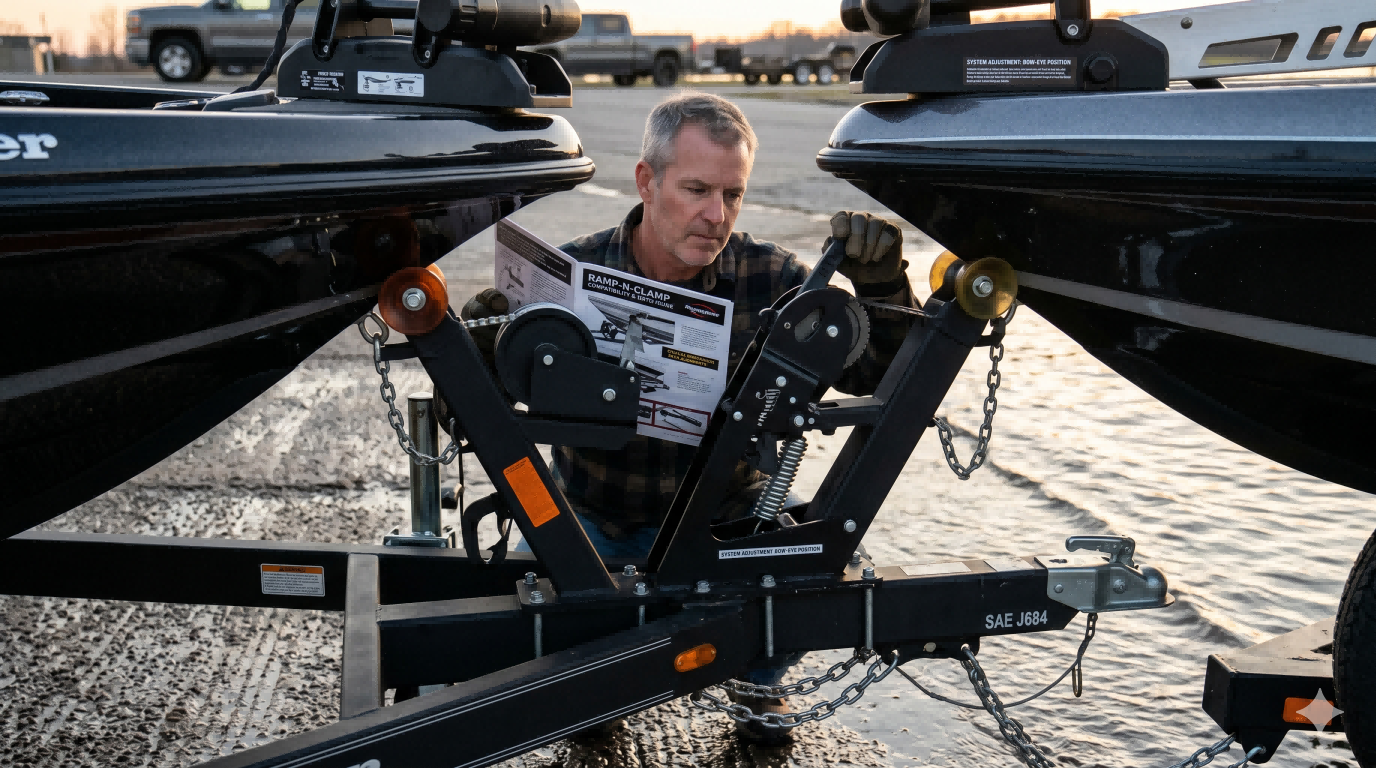
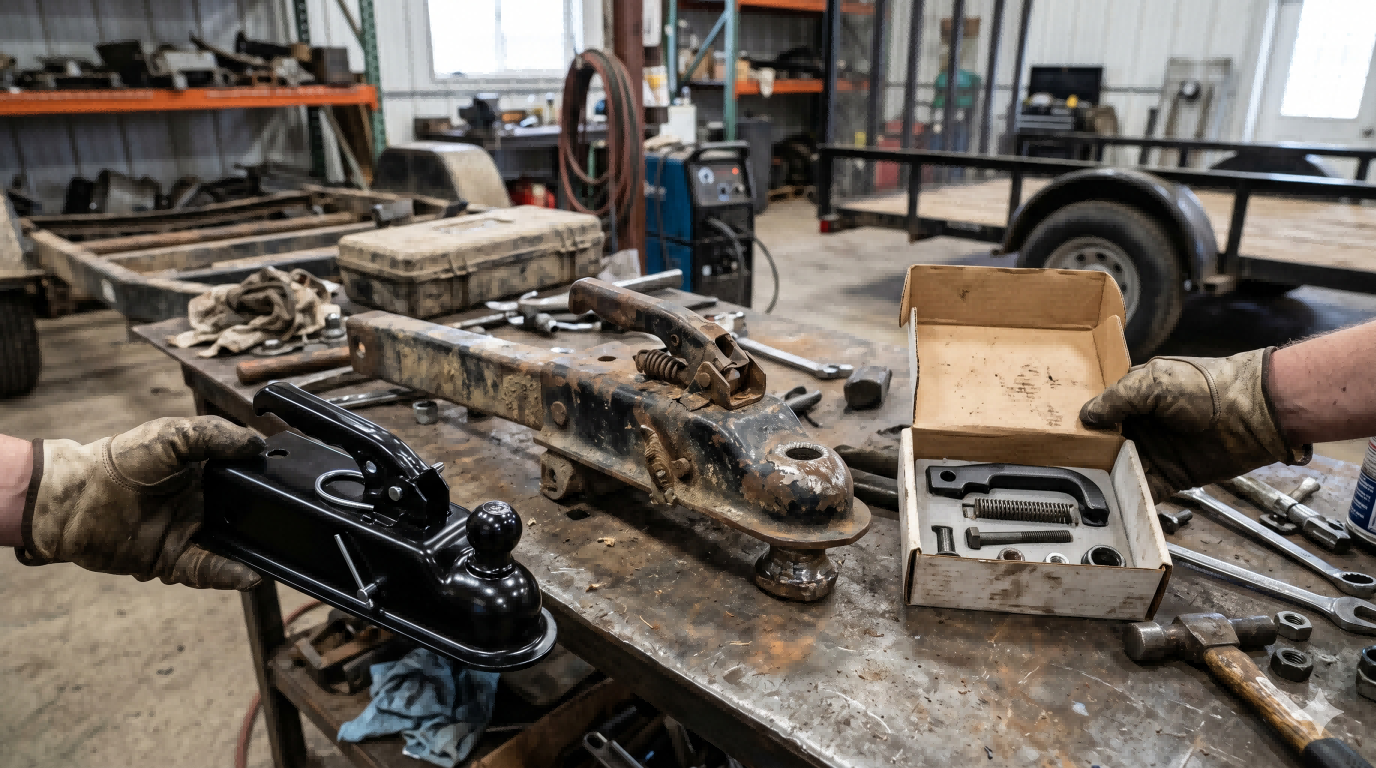
Hitch Clamp Mistakes That Cause Noise, Looseness, or Premature Wear
A surprising number of buyers assume that once an anti-rattle hitch clamp is installed, the problem is solved. If noise remains, if the connection still feels loose, or if wear starts showing up faster than expected, they often blame the clamp itself. In many cases, the real issue is not the product category. The real issue is how the clamp was selected, installed, or used within the broader towing setup.
This matters because a trailer hitch clamp is a deceptively simple product. It looks like a small piece of hardware, but it sits at a very sensitive point in the receiver system. It influences how movement is controlled, how vibration is transferred, and how tightly the receiver and shank behave under real road inputs. When used correctly, it can support meaningful hitch noise reduction, better connection feel, and improved day-to-day towing confidence. When used carelessly, it can create the exact frustrations buyers were trying to eliminate.

That is why understanding hitch clamp mistakes is more valuable than simply knowing what the product is supposed to do. In the real towing market, performance problems often come less from the clamp design and more from misuse, poor fit logic, or maintenance neglect.
Why Small Mistakes Create Bigger Problems Than Buyers Expect
A hitch connection lives in a demanding environment. It sees vibration, load transfer, road shock, weather exposure, repeated installation cycles, and in many cases mixed use across towing, cargo carrying, and bike transport. That means small setup errors do not stay small for long.
A clamp installed slightly off position may not fail dramatically, but it may never fully control receiver play. A clamp chosen only by price may technically fit, yet still struggle to stabilize a heavier-duty application. A clamp that is never rechecked after early use may gradually loosen until the owner starts hearing rattling again and assumes the product “does not work.”
In other words, towing hardware punishes carelessness through symptoms before it punishes it through damage. Those symptoms usually show up as:
More hitch noise than expected
The owner hears rattling, clunking, or vibration even after installing the clamp.
Persistent hitch looseness
The setup still feels less solid than it should during starts, stops, or uneven pavement.
Visible hitch wobble
The inserted accessory or ball mount still shows movement, especially when leverage is involved.
Premature wear
Contact surfaces, hardware, threads, or receiver areas begin showing wear faster than expected because motion was reduced only partially, not properly.
Once buyers understand this, they stop asking only whether the clamp is good and start asking whether the clamp is being used intelligently.

Mistake 1: Choosing a Clamp by Receiver Size Alone
One of the most common clamp installation mistakes actually happens before installation begins. Buyers choose a product based only on whether it says 2 inch or 2.5 inch, then assume that size matching is enough.
It is not.
Receiver size is only the first filter. The real buying decision should also consider:
- whether the setup is for towing or accessories
- how much movement the user is trying to control
- whether the application is light-duty or repeated heavy use
- whether leverage from a cargo carrier or bike rack will amplify movement
- whether the user swaps accessories frequently or leaves one insert installed
A clamp that technically fits can still be the wrong clamp for the application. That mismatch often leads to disappointing anti-rattle hitch clamp performance, because the product is being asked to do more than its design comfortably supports.
Why this causes noise and looseness
If the clamp is too light for the actual use case, it may not fully stabilize the joint under real-world movement. The result is partial control rather than real control. That is why some setups improve slightly but still produce hitch looseness or recurring noise.
Mistake 2: Installing the Clamp on a Dirty, Rusty, or Poorly Seated Connection
A clamp is not magic. It works best when the receiver and inserted shank are already seated correctly and free of unnecessary debris. Yet many owners install a clamp over a connection that is dusty, rusty, wet with grime, or not fully aligned.
That is a major mistake.
If the inserted shank is not seated correctly, the clamp may tighten a flawed position rather than a correct one. If rust scale or dirt interferes with metal-to-metal contact, the clamp may create uneven pressure. That unevenness reduces effectiveness and can accelerate premature wear.
Why this causes poor anti-rattle performance
A clamp does not create precision out of disorder. It improves an existing connection by controlling movement. If the underlying surfaces are compromised, then the clamp is stabilizing an imperfect interface from the beginning.
What smart users do instead
Before installing a receiver hitch clamp, they make sure the shank is fully inserted, the pin alignment is correct, the contact area is reasonably clean, and the hardware can tighten against surfaces that are actually behaving as intended.
Mistake 3: Tightening the Clamp Before the Insert Is Fully Settled
This is more common than many people realize. An owner slides the ball mount, rack, or carrier into the receiver, loosely aligns it, then immediately tightens the clamp without checking whether the insert is actually sitting in its best working position.
That shortcut can create problems.
A hitch insert should be properly seated and aligned before the clamp is tensioned. Otherwise, the clamp may lock in a suboptimal position that still allows movement once towing begins.
Why this creates hitch wobble later
At rest, the setup may look tight. Under motion, however, force direction changes and the inserted piece may “settle” further into a different contact pattern. Once that happens, the clamp may no longer be controlling the most important movement path, and hitch wobble can reappear.
Why buyers misdiagnose this problem
They assume the clamp “came loose,” when in reality the connection was never optimized before tightening.
Mistake 4: Uneven Tightening Across the Hardware
A clamp should apply balanced pressure. But many users tighten one side aggressively, then only lightly secure the other side, or they rush through the hardware sequence without trying to create even compression.
That matters more than it seems.
When pressure is uneven, the clamp can sit slightly twisted or biased toward one side of the connection. That may still create some short-term hitch noise reduction, but it often leaves one movement path less controlled than the other.
What happens over time
Uneven loading can produce:
- inconsistent anti-rattle performance
- recurring clunking under directional force change
- thread stress that is not shared evenly
- uneven contact wear on the receiver area
- a false sense that the connection is tight when it is only partially stabilized
A properly installed trailer hitch clamp should feel deliberate, not improvised.
Mistake 5: Overtightening and Assuming More Force Always Means Better Control
This is the opposite of under-tightening, and it is just as important. Some buyers believe that if a clamp is good, then maximum tightening must be better. That thinking is understandable, but not always correct.
A clamp is meant to control motion, not to compensate for every possible mismatch through brute force. Excessive tightening can create unnecessary stress on hardware, threads, or contact areas. It can also make later removal difficult and increase the chance of thread damage or seized components after weather exposure.
Why this can lead to premature wear
Overtightening can distort how force is distributed through the clamp and receiver connection. In some cases, it may also create localized pressure points that increase wear at exactly the areas meant to be protected from repeated movement.
The better mindset
A quality anti-rattle hitch clamp should be tightened correctly and consistently, not aggressively without judgment. Real towing performance comes from proper fit and balanced installation, not from treating the hardware like a contest of force.
Mistake 6: Using a Hitch Clamp to Solve the Wrong Problem
This is one of the biggest errors in the category. A clamp can reduce receiver play, improve connection feel, and support hitch noise reduction. But it cannot replace correct trailer loading, sway control, receiver compatibility, or proper maintenance of worn towing parts.
Many buyers buy a clamp because they feel something is “wrong” in the rear of the vehicle. But that vague feeling may come from:
- poor tongue weight
- trailer sway
- unbalanced cargo
- worn coupler components
- suspension issues
- tire problems
- chain contact or other vibration sources
If the actual problem is not at the receiver-shank interface, then the clamp will never deliver the dramatic improvement the buyer expects.
Why this matters commercially
A lot of negative product feedback is really diagnostic failure. The owner bought a connection-control component for a system-level towing problem. The clamp then gets blamed for not solving something outside its job description.
Mistake 7: Ignoring Leverage from Bike Racks and Cargo Carriers
Not all hitch applications behave like simple towing. Bike racks and cargo carriers often place weight farther from the receiver, which increases leverage and makes movement more visible. A setup that seems acceptable with a short ball mount may feel noticeably looser with a loaded cargo tray.
Some buyers underestimate this and assume any clamp that works in one application will feel identical in another. That is not how real use works.
Why leverage changes the experience
When the load extends farther rearward, even small receiver play becomes easier to see. This does not always mean the clamp is failing. It may simply mean the application is amplifying motion more aggressively.
Why wrong expectations create frustration
The owner expects total stillness because the clamp worked well in a shorter, simpler setup. Then the same owner installs a long accessory and interprets normal amplified motion as product failure.
Smart users understand that application geometry matters. That understanding is part of industry-level product judgment.
Mistake 8: Neglecting Rechecks After Initial Use
A newly installed clamp should not be forgotten forever. Real towing and transport create vibration cycles, hardware bedding-in, weather exposure, and shifting load conditions. That is why one of the most common hitch clamp mistakes is treating installation as a one-time event instead of part of basic hardware discipline.
Why this matters early
After initial use, components may settle slightly. That does not mean something is wrong. It means the setup has entered real service and should be rechecked.
What happens when owners ignore this
They may begin hearing new noise after a few trips and assume the clamp design is poor. In reality, the hardware may simply need inspection and confirmation after early use.
Why mature users behave differently
Experienced towing owners understand that hitch-area hardware benefits from routine attention. That attitude helps prevent premature wear, maintain better performance, and reduce the chance of recurring hitch looseness.
Mistake 9: Using a Clamp with Worn or Incompatible Base Components
A clamp can improve a valid connection. It cannot restore a connection built around worn, damaged, or fundamentally mismatched parts.
If the receiver is excessively worn, if the insert shank is compromised, or if sleeves and adapters create additional movement paths that are not being addressed properly, then the clamp may only mask part of the issue. The underlying instability remains.
Why this creates disappointing results
The owner expects one aftermarket part to correct a multi-component wear problem. Even if the clamp reduces some motion, the total system still feels less stable than expected.
Why this is an important buying lesson
Aftermarket improvement products work best when the foundation is sound. A trailer hitch clamp should be viewed as a refinement and stabilization tool, not a substitute for replacing worn-out hardware.
Mistake 10: Treating Corrosion as a Cosmetic Issue
Because clamps live low on the vehicle, they are exposed to water, dirt, road salts, mud, and general weathering. Some owners ignore early corrosion because the product still appears functional. That can be a costly mistake.
Corrosion affects more than appearance. It affects:
- thread condition
- tightening consistency
- removal effort
- future adjustability
- long-term user confidence
A clamp that cannot be serviced easily becomes a source of frustration, even if its original anti-rattle logic was sound.
Why this contributes to wear and looseness
If the hardware becomes difficult to maintain, owners are less likely to recheck it properly. Once that happens, performance drops and wear risk rises.
How These Mistakes Create a Pattern of Failure
Most hitch issues do not come from one dramatic error. They come from layers of small misjudgments.
A buyer may choose the clamp by size only.
Then install it on a dirty connection.
Then tighten it unevenly.
Then expect it to solve sway.
Then never recheck it after several trips.
By the time noise returns, the owner believes the clamp failed. In reality, the system was never given a fair chance to work correctly.
This is an important insight for brands, distributors, and content marketers. Good product education in the anti-rattle hitch clamp category should not focus only on benefits. It should also explain misapplication risk. In mature markets, better buyers create better product outcomes.
What Correct Hitch Clamp Use Looks Like
A properly used clamp usually follows a much more disciplined pattern.
The buyer matches product to real application
Not just receiver size, but towing type, accessory leverage, duty cycle, and expected movement level.
The connection is cleaned and seated correctly
The insert is fully positioned before the clamp is tightened.
Hardware is tightened evenly and sensibly
Not casually, not excessively, but with balanced intention.
The owner understands what the clamp can and cannot fix
It controls movement at the receiver connection. It does not replace broader towing setup work.
The setup is rechecked after real use
Especially early in service and after environmental exposure.
That is what turns a simple piece of hardware into a reliable improvement rather than a recurring complaint.
A Better Way to Think About Hitch Clamp Performance
The wrong mindset is:
“I installed the clamp, so the product should now solve every movement issue.”
The better mindset is:
“I installed the clamp correctly to control one specific source of movement inside a broader towing system.”
That difference sounds small, but it changes everything.
It makes buyers more realistic.
It makes installations better.
It reduces false product complaints.
It helps protect against premature wear.
And it gives the receiver hitch clamp a much better chance to perform the way it was designed to perform.
Final Thoughts
Most hitch clamp mistakes are not dramatic. They are ordinary. That is exactly why they matter.
They show up in rushed installations, weak product matching, poor expectations, skipped inspections, and the assumption that a clamp can fix every kind of towing discomfort. Over time, those habits lead to noise, recurring hitch looseness, visible movement, and faster wear than the owner expected.
A good anti-rattle hitch clamp can absolutely improve a towing or accessory setup. But the product works best when the user brings the same discipline to installation and maintenance that they would bring to any other important towing component.
In the end, the real lesson is simple: the clamp is only as smart as the way it is used. And in towing, good hardware choices always matter most when they are matched by good operating habits.
#HitchClamp #AntiRattleHitchClamp #TrailerTowing #ReceiverHitch #HitchNoiseReduction #HitchWobble #TrailerAccessories #TowingSetup #TrailerParts #TowingSafety