
Does Your AMR Need a Global Shutter Camera
A Bent Rack Upright and a Blurred Pallet Need Different Fixes
Consider two hypothetical images from an autonomous mobile robot. In the first, the robot turns into an aisle and a straight rack upright appears tilted or curved. Its edge may still look relatively sharp. In the second, the robot enters a dim storage area and a pallet edge becomes a soft streak. The scene appears brighter after the camera adjusts, but the detail needed for the approach has become less distinct.
Both images can undermine perception, yet they suggest different mechanisms. A global shutter camera can address geometry that changes because different image rows observe the scene at different times. It does not, by itself, prevent an edge from smearing while light is being collected. Buying the more expensive camera without separating these effects can leave the dark-aisle problem substantially unchanged.
The first question in a global shutter vs rolling shutter decision is therefore what image information the robot loses, when it loses it, and why that loss affects the task. A camera used to estimate motion during a turn has different requirements from one that reads a label after the vehicle has stopped. The shutter should be selected for the observation the application needs.
The August 2026 Axis white paper separates motion blur during an exposure from deformation caused by staggered row exposures. That distinction is useful for AMRs: shortening the exposure can improve moving detail while leaving a row-timing problem, and changing the shutter architecture can improve row geometry while leaving a long-exposure problem.
Do not diagnose either condition from a single attractive or unattractive screenshot. Defocus, lens distortion, vibration, a dirty cover, image stabilization, and processing can also change apparent sharpness or shape. Look for a relationship with turning, target movement, lighting, and the actual camera settings. The aim is to identify a purchase that changes the cause of the problem.
Start with one consequential feature: the corner used to estimate position, the pallet opening used for approach, or the printed mark used for identification. Explain what the application must extract from it. “A clear image” is too broad to compare quotations; “a stable estimate of this corner throughout this turn” gives the supplier a concrete imaging task.
For the wider choice of sensing roles, the site's mobile robot sensor selection guide provides the context. Here, the focus is the camera acquisition behavior that determines whether useful visual detail survives the robot's movement and changing light.
Separate Scene Motion from Row-by-Row Readout
A global shutter sensor starts and ends the exposure of its pixels together. The stored image can still be read out sequentially afterward. A rolling shutter sensor exposes different rows with a time offset. Basler's electronic shutter documentation describes these arrangements and distinguishes them from global reset release, which starts rows together but does not end their exposures together.
For a moving scene, the practical difference is whether all rows describe a common exposure interval. During a turn, the view can move between the acquisition of upper and lower rows. The combined image may then describe a shape that never existed at one instant. This is the geometry problem normally meant by rolling shutter distortion.
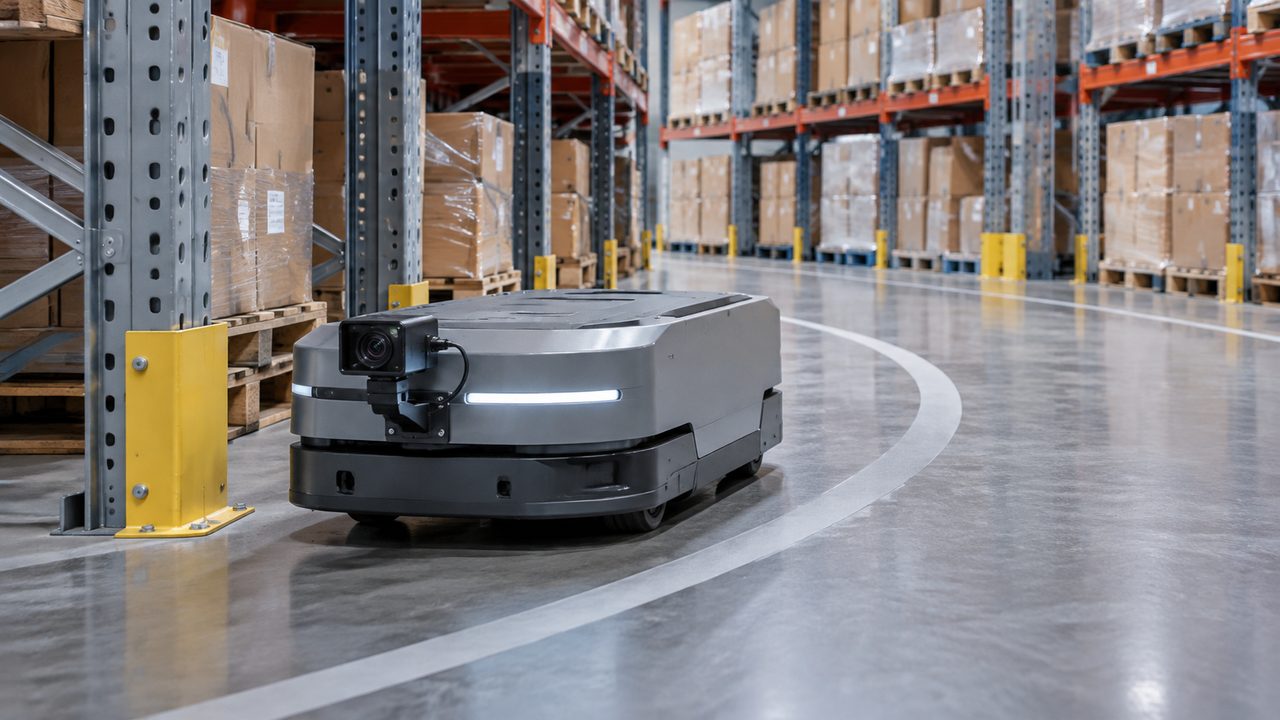
A sharp edge can still be in the wrong place
Imagine a warehouse upright viewed while the robot rotates. A short row exposure may keep the local edge sharp, yet the upright's image position can change before later rows are acquired. The result can be a crisp but displaced sequence of edge segments. A sharpness score alone would miss the consequence for a geometric measurement.
Now consider a camera that exposes all pixels together but uses a long integration interval. The upright moves across the image during that interval, so its edge can spread across several pixels. The image no longer has the same staggered-row geometry, but the application may still struggle to locate the edge accurately.
| Observed symptom | Relevant question | What the answer changes |
|---|---|---|
| Shape changes during a turn while local edges remain fairly sharp | Does row timing explain the changing geometry? | Whether a different shutter or readout mode addresses the cause |
| Detail smears as the camera lengthens integration in a dim aisle | Is exposure duration excessive for the image motion? | Whether shorter exposure and more usable light are needed |
| The image remains soft when the robot and target are stationary | Are focus, optics, contamination, or processing limiting detail? | Whether a shutter upgrade is relevant at all |
These are diagnostic directions, not automatic classifications. A real sequence can contain several effects at once. Preserve the camera's actual output and settings so that the team can examine geometry and blur separately instead of treating all poor images as a single problem.
Robot speed alone does not describe image motion
The camera can rotate, translate, and vibrate while targets also move. Nearby features and distant features need not move through the image at the same rate. A camera positioned away from the robot's turning center acquires additional translational motion during a chassis turn. Lens projection and feature position further influence the movement seen in pixels.
That is why a straight-line test at the robot's maximum travel speed can miss a difficult low-speed turn. Compare the maneuvers that move important features fastest through the installed camera's view. Include the actual camera position and lens rather than assuming that the same chassis speed creates the same imaging demand everywhere.
For geometry-sensitive applications, ask whether the perception pipeline models row timing or assumes a common image time. A suitable model can change what is acceptable, but its presence should be demonstrated in the proposed application. The related guide to visual SLAM and localization explains the wider estimation task. A shutter choice supports that task; it does not establish localization performance on its own.
Set the Exposure Budget from the Image the Robot Must Use
Exposure time is the interval over which the sensor collects light for the measurement. Camera shutter speed often expresses the same duration as a reciprocal: 1/250 second is 4 milliseconds. Use one unit consistently in the purchasing specification so that a setting described as “faster” cannot be confused with a higher output frame rate.
Build a first estimate from the movement of the consequential feature in the output image. For approximately constant local image motion, blur length in pixels is approximately image speed in pixels per second multiplied by exposure duration in seconds. This is a simplified budgeting relationship, not a complete image-quality model.
An illustrative four-millisecond limit
Assume, hypothetically, that a selected feature moves at 500 pixels per second at its relevant image location during a particular maneuver. Suppose the application team chooses an initial blur budget of two pixels for investigation. The resulting exposure limit is 2 ÷ 500 = 0.004 seconds, or 4 milliseconds. Neither the motion rate nor the two-pixel budget is a measured product result or a universal acceptance threshold.
| Hypothetical exposure | Local image speed | Approximate movement during exposure |
|---|---|---|
| 1 ms | 500 pixels/s | 0.5 pixels |
| 4 ms | 500 pixels/s | 2 pixels |
| 10 ms | 500 pixels/s | 5 pixels |
The calculation isolates exposure blur. It does not calculate the displacement between rows, predict an algorithm's success rate, or establish a safety limit. It also assumes that the selected image speed remains approximately constant during the exposure. Rapid acceleration, vibration, or changes in feature position require a more representative observation.
Use the result to ask a focused question: can the complete camera and lighting arrangement preserve the required feature at or below that duration? If the answer is no, the design needs more usable light, different optics or sensor performance, less image motion, or a different observation strategy. Selecting simultaneous exposure does not remove that requirement.
Do not substitute the frame period for the exposure
A 30-frame-per-second stream has a nominal interval of about 33.3 milliseconds between frames. That does not establish a 33.3-millisecond integration period or a 33.3-millisecond row timing span. A camera can expose briefly and output frames at a slower rate. Conversely, a higher output rate does not establish that the selected exposure is short enough for the task.
Keep the image coordinates consistent. A two-pixel budget defined before downsampling is different from one defined afterward. Changing the lens or output resolution changes how a physical feature is represented. Record the image size and processing stage used for the budget, then evaluate the feature at the stage where the application actually consumes it.
Automatic exposure deserves a deliberate upper limit. If a dim aisle causes the camera to extend integration beyond the motion budget, the controller may produce a pleasantly bright image with less usable detail. Set the allowable duration from the task and determine whether gain, illumination, and optics can provide sufficient information within it. The cap alone does not guarantee adequate image quality.
Also inspect the transition into the dark area. A controller that eventually reaches an acceptable setting may still lose several important observations while adapting. The purchasing question is whether the application can continue its intended operation through that transition, or whether a planned pause or slower maneuver is required.
Agree on what the exposure controller is trying to make visible. A bright doorway or ceiling fixture can dominate an image while the relevant pallet surface remains dark. Where the camera supports a suitable metering region, assess whether it follows the task's needs through the approach. A setting that works when the target fills the center of the image may behave differently when that target moves toward an edge or becomes partly obscured.
Find the Light Without Buying New Problems
Once an exposure budget is established, the dark-warehouse problem becomes a question about useful light and image formation. The buyer has several possible changes: improve illumination, alter the lens, select a more suitable sensor, adjust gain and processing, or change when the image is acquired. Each option affects more than brightness.
Basler's image-quality guidance treats illumination, aperture, integration duration, and gain together. Longer integration collects more photons but can increase blur. Increasing gain can brighten the output and amplify noise. Gain does not add missing photons, although the behavior of different analog and conversion-gain implementations should not be treated as identical.
Improve the feature, not just the average brightness
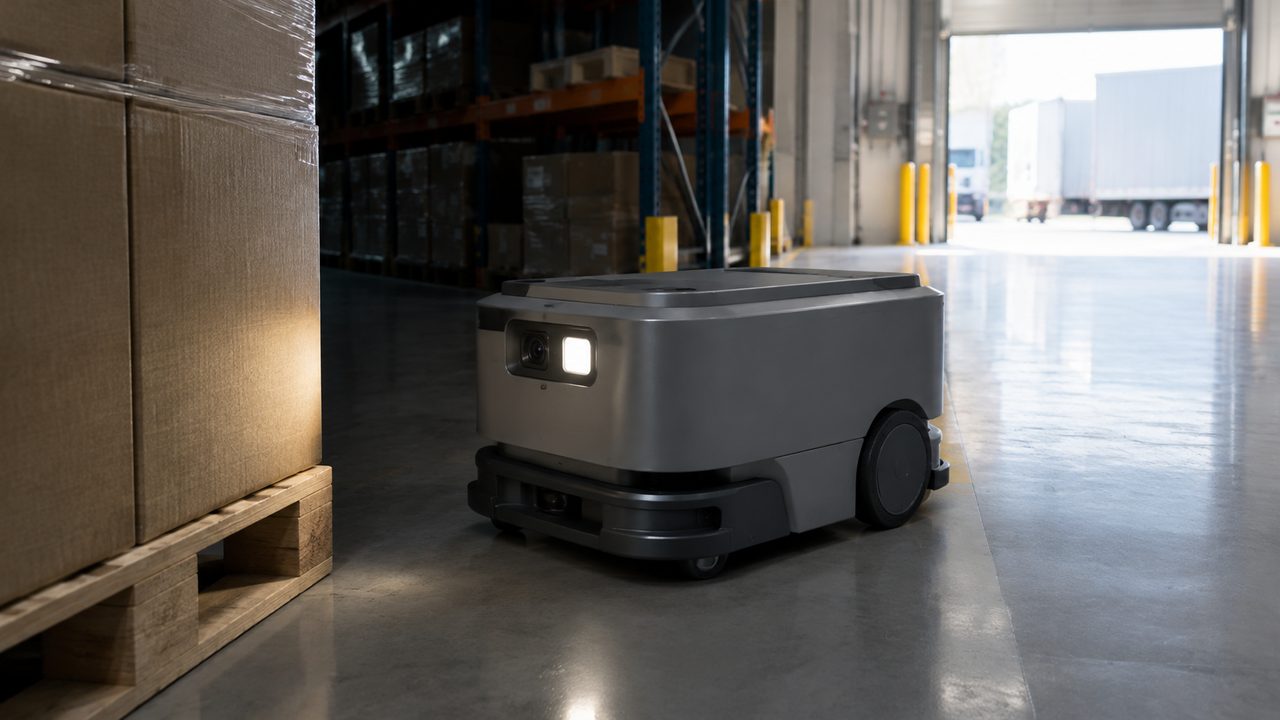
A brighter image is useful only if the required feature becomes more interpretable. Extra light aimed directly at reflective wrapping can produce saturated highlights while leaving a pallet recess difficult to see. A larger lens aperture may improve light collection but change the depth range over which detail stays in focus. The best adjustment depends on where the useful feature lies.
Evaluate the installed optical path. A protective window, filter, lens, and illumination wavelength all affect what reaches the sensor. If near-infrared lighting is proposed, confirm that the selected camera and optics support it and that the important materials remain distinguishable. Do not assume that an image that looks informative in visible light retains the same contrasts at another wavelength.
Make lighting part of the complete design cost. Consider its mounting position, power, thermal behavior, cleaning access, and effect on nearby cameras or human work. A light that solves one close-range view may not illuminate the distant features needed by another task. Document which observation it is intended to improve.
Pulsed lighting can be useful, but a short flash is not a universal cure for a sequentially exposed image. The light must overlap the intended exposure windows under a supported acquisition mode. Otherwise, only part of the image may receive the pulse. Ask the supplier to demonstrate the proposed lighting and shutter combination instead of inferring compatibility from a shared nominal frame rate.
Ask what the HDR mode actually combines
An AMR can face a bright loading-bay opening and a dark aisle in the same view. High dynamic range imaging may help retain useful detail in both, but the implementation matters. A label saying HDR does not reveal whether the image combines gain samples from one exposure or information from several exposures taken at different times.
OMNIVISION's DCG explanation describes sampling the same photo-generated charge at different conversion gains and separately describes adding exposures for further dynamic-range extension. These are different acquisition choices. A multi-exposure mode needs evaluation of moving edges and scene changes between its constituent measurements; this is a test requirement, not evidence of a defect in a named product.
Choose the operating mode around the task. If the robot must estimate a moving pallet boundary, inspect that boundary in the HDR output rather than judging the overall tone of the scene. If the task depends on a bright label beside dark packaging, determine whether both remain usable during the actual approach.
Compare the output mode offered in the quotation, including its resolution, rate, exposure controls, and processing. A sensor's highest linear-mode frame rate may not be available in its HDR mode. Likewise, denoising or tone mapping can change fine detail even when the resulting video looks smoother to a person. Evaluate the application's input rather than an unrelated preview setting.
Lighting transitions should also be examined in both directions. Entering a dark aisle tests the ability to recover shadow detail within the exposure limit; leaving it tests whether bright features remain usable. The resulting camera policy may legitimately use different settings for different operating states, provided those transitions are deliberate and the required observations are maintained.
Decide Which Benefit Justifies the Camera Premium
A global shutter camera deserves serious consideration when the application needs reliable geometry while the robot or important targets move appreciably through the image. The strongest case is a demonstrated row-timing limitation that persists after exposure blur, focus, and lighting have been addressed. The business case should identify the operation that improves.
It can be weaker when the camera performs its critical observation after the robot has stopped, when relevant image motion is small, or when a suitable rolling shutter implementation already meets the task. In those cases, spending more on optics, lighting, mounting, or a different camera role may provide greater value than changing the shutter alone.
However, stopping the chassis does not necessarily make the scene stationary. A conveyor may continue moving, a person may cross the view, or a load-handling mechanism may still be settling. Define what must be still for a planned stop-and-capture strategy to work. If only the identifier on a stationary fixture matters, that condition may be easy to achieve; if the observation concerns a moving load, the same strategy may not remove the imaging demand.
Recent products expand the options without settling the choice
On October 5, 2026, OMNIVISION introduced the OG05D, a 5-megapixel global shutter sensor for industrial and robotics imaging. The announcement includes single-exposure DCG HDR and three-exposure HDR modes. At that time it was sampling, with mass production planned for Q4 2026. The announcement supports evaluating a new sensor option; it does not establish a shipping AMR camera or a completed deployment qualification.
At the finished-camera level, Active Silicon's September 9 announcement introduced two Harrier autofocus-zoom models using Sony Pregius S sensors and offering up to 1080p60 output. The company described those camera models as available. Their presence broadens the purchasing options, but an AMR does not automatically need optical zoom, and the application still determines the appropriate optics and output.
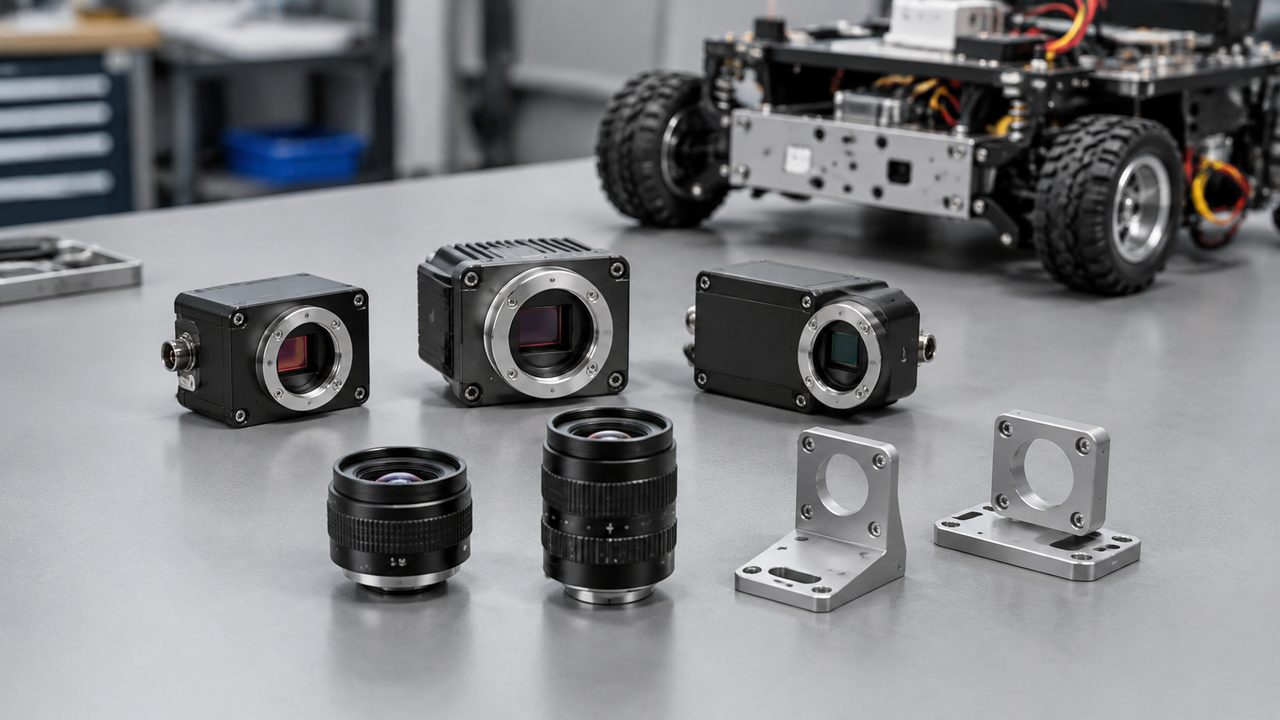
Compare named camera configurations instead of assuming that every global shutter design has the same sensitivity, price, power, or noise. Sensor architecture and generation matter, as do the lens and camera processing. A general technology tendency is a starting question for a supplier, not a substitute for measurements from the offered model.
| AMR observation | Where the premium may be valuable | What still needs to work |
|---|---|---|
| Geometry used continuously through turns | A common exposure interval can remove staggered-row geometry as a limitation | Short enough integration, useful contrast, and a suitable estimation pipeline |
| Label capture after stopping | The benefit may be limited if the target and camera are sufficiently still | Focus, illumination, resolution, and the time needed for the observation |
| Moving targets in a dim aisle | Consistent geometry can help when the exposure budget is also met | Adequate signal without excessive blur or lost detail |
| Operator viewing or scene documentation | The decision depends on what the viewer or downstream system must interpret | Useful image quality and delivery timing for that specific role |
Price the observation strategy as well as the hardware. A cheaper camera that requires the robot to pause may be acceptable for occasional identification and expensive for a frequent navigation task. A premium camera that still requires the same pause has not delivered that particular throughput benefit. Establish what changes operationally before crediting a saving.
For an original hypothetical example, suppose a design requires an additional 0.4-second pause for each of 300 image-based checks per shift. That totals 120 seconds of added observation time. It is not automatically 120 seconds of lost throughput: some pauses may overlap other work or occur outside the bottleneck. Measure whether the proposed camera actually removes them and whether removing them affects completed work.
Compare the complete cost of achieving the required observation. Include any lighting, lens changes, mounting work, processing, and integration needed by each candidate. Keep one-time engineering separate from recurring equipment costs. The more expensive sensor can be economical if it simplifies the system, while a premium label can also add cost without changing the limiting image condition.
Compare the Cameras with Three Deliberate Changes
A focused comparison should explain the image problem before expanding into a broad acceptance program. Three controlled changes can separate much of the uncertainty: change motion while holding the imaging setup steady, change integration while preserving the maneuver, and change illumination while respecting the chosen exposure budget.
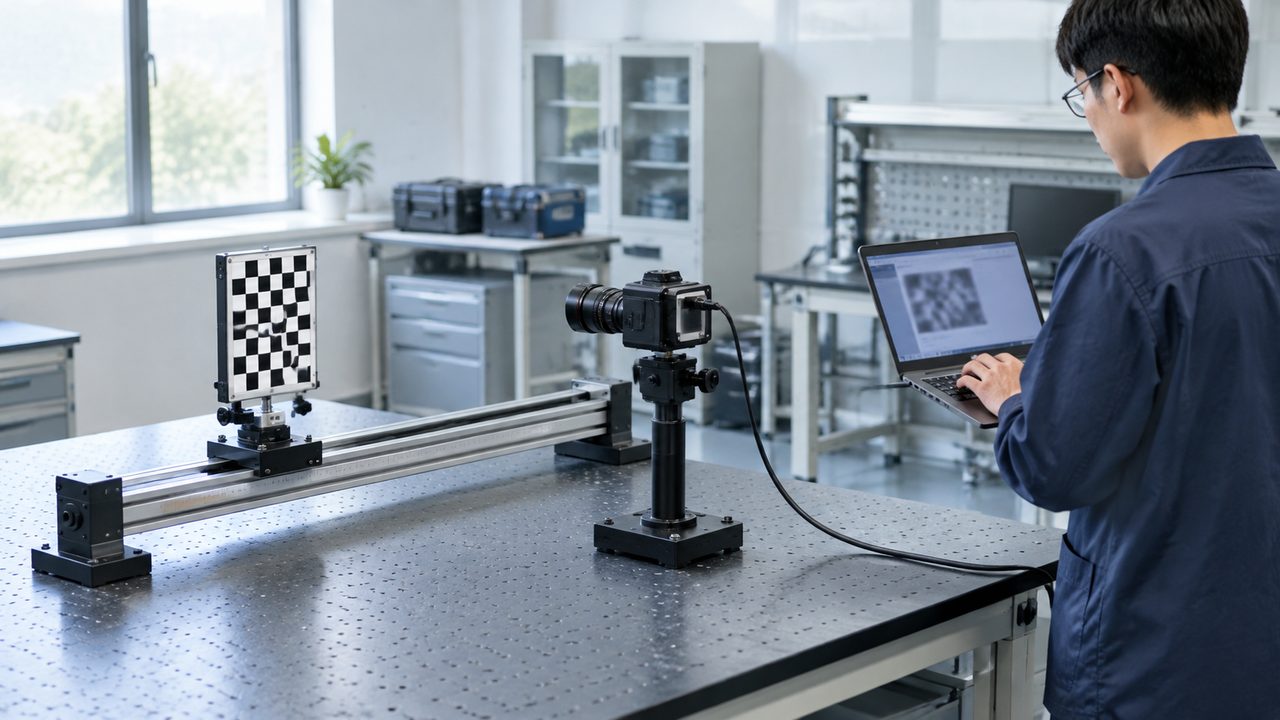
Use an actual task feature and preserve the relevant camera output. A large high-contrast test chart is useful for some measurements, but it may conceal the difficulty of a dark pallet opening or a small worn identifier. Include enough reference geometry to interpret what changed without replacing the real task with a convenient target.
Establish comparable feature scale before interpreting the results. Two cameras with the same megapixel count can depict the target at different sizes because their lenses and fields of view differ. A change in apparent sharpness may come from that difference. Record zoom, focus, stabilization, resizing, and other relevant processing settings so that the team can distinguish a shutter benefit from a changed representation of the scene.
For a fair purchasing comparison, each complete camera may use appropriate settings, but their consequences must remain visible. A narrow view that makes one feature easier to measure may exclude surrounding context needed by the application. Credit the improvement only if the complete observation requirement is still satisfied.
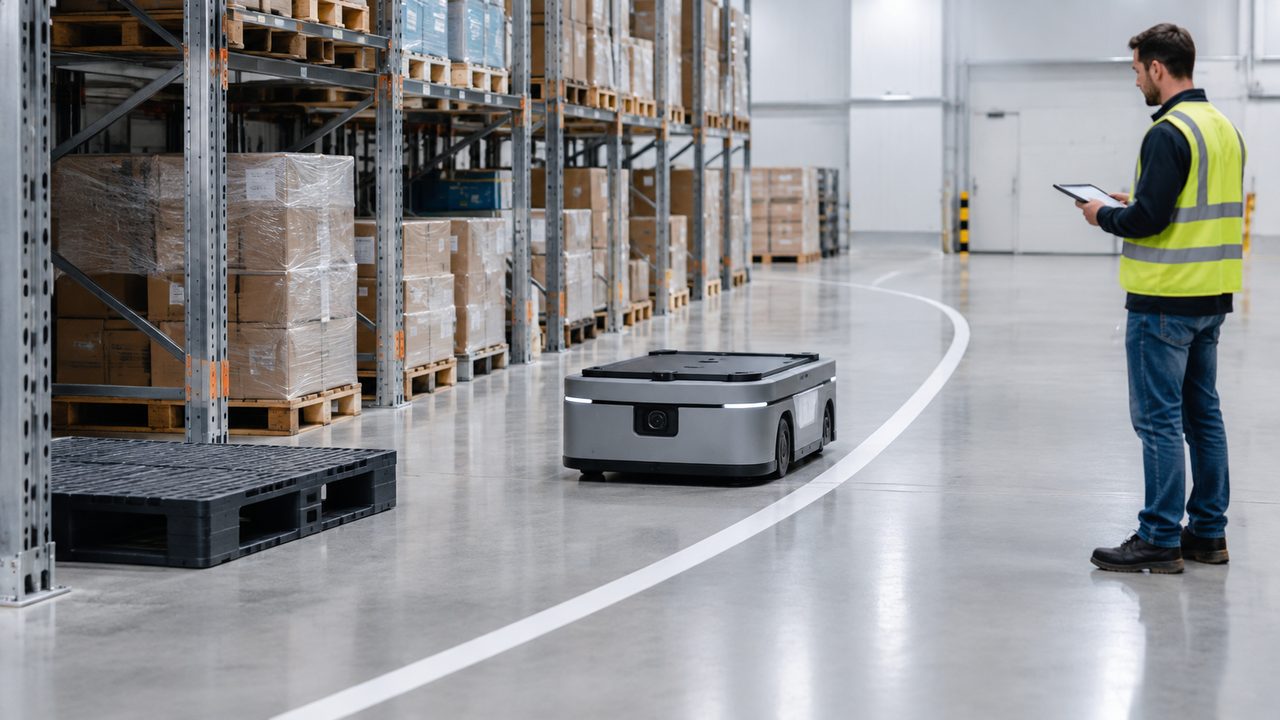
First, change the maneuver
Compare the feature with the robot stationary, moving straight, and executing the relevant turn. Hold focus, lens, exposure, and processing settings steady for this diagnostic comparison. If a geometric deformation appears mainly during turning, investigate row timing and camera motion together. If softness persists while stationary, resolve the optical or processing limitation before attributing it to the shutter.
Repeat the important approach direction rather than assuming a turn in one direction represents every maneuver. The installed camera position and nearby target geometry can make the images different. The objective is a cause-and-effect observation that helps choose the camera, not an exhaustive catalog of possible routes.
Second, change the integration interval
Keep the maneuver and target comparable while shortening the integration interval. Record the associated brightness and gain changes. If an edge becomes sharper but its shape remains inconsistent across the image, blur has improved without necessarily resolving row geometry. If the useful feature becomes too noisy or dark to interpret, the light budget has become the next limitation.
Then compare the candidate shutter types at settings justified for the task. Do not allow one camera a long exposure that makes its still image attractive while judging the other during a demanding maneuver. Equally, do not force identical settings when the complete products require different reasonable configurations to achieve the same result. Report what each needs.
Third, change the illumination
Keep the selected exposure within its budget and assess a practical lighting change. Determine whether it recovers the relevant feature, introduces glare, or alters the behavior of the bright-to-dark transition. If illumination makes the existing camera sufficient, compare its complete cost with the proposed shutter upgrade. If geometry remains the limiting factor, the case for that upgrade becomes clearer.
Evaluate the result through the application as well as through images. Relevant outcomes might include the consistency of a feature position, successful identifier reads, or the continuity of a localization estimate through a turn. These outcomes should be defined for the task; there is no universal image score that makes every camera acceptable.
Keep the explanation attached to the result. “Candidate A worked better” is less useful than “Candidate A retained the required corner geometry through this turn at this light level, while both candidates met the blur budget.” That statement tells purchasing what capability it is paying for and helps engineering recognize when a later operating change falls outside the comparison.
Specify the Operating Result You Are Buying
The final specification should describe the required observation during the relevant maneuver and lighting condition. Identify the selected camera mode, lens, image size, exposure range, and illumination arrangement. State the feature or application output that must remain usable. This keeps the shutter requirement connected to the reason it was selected.
Image geometry and image freshness remain different requirements. Basler's acquisition timing documentation distinguishes trigger-to-exposure delay, readout, and transmission. These stages can overlap, and a trigger edge is not proof that the application immediately receives a current image. Establish image age at the consuming application under the intended workload.
For a multi-camera platform, briefly confirm that the required exposure and timing behavior is supported by the delivered system. The separate guide to GMSL2 camera compatibility covers the host, driver, and integration questions. Those arrangements enable image delivery; they do not replace the shutter and light-budget decision.
A machine vision camera also does not acquire a protective-function qualification merely by using simultaneous exposure. SICK's safeVisionary2 operating instructions distinguish documented protective fields from warning fields without the same safety function. That illustrates why any protection claim belongs to the specific device, function, and integration conditions.
Return to the two opening images. The bent upright calls for an explanation of geometry during acquisition. The smeared pallet calls for an exposure and lighting solution. When those causes are separated, the buyer can pay for a global shutter where it removes a consequential limitation and retain a suitable alternative where it already supports the required work.
Focused FAQ
Does a global shutter camera eliminate motion blur?
No. It aligns pixel exposure intervals, but movement during a finite exposure can still smear detail. The task still needs a sufficiently short exposure and enough usable light. Evaluate the consequential feature at the actual maneuver and lighting condition.
Can shorter exposure eliminate rolling shutter distortion?
It can reduce blur within the exposure without removing the temporal offset between rows. A sharper image may therefore retain geometric deformation. Investigate row timing separately and compare a supported faster-readout mode or different shutter where geometry remains limiting.
Is frame rate the same as camera shutter speed?
No. Frame rate describes output frequency, while shutter speed commonly expresses exposure duration. A 30 fps output does not prove a 1/30-second exposure. Obtain the actual acquisition settings and timing for the selected camera mode.
Should every AMR camera use global shutter?
No. The strongest case is a task that needs consistent geometry during appreciable image motion. A camera used for a suitable stationary observation or a less geometry-sensitive role may meet its requirements with another shutter arrangement.
Does HDR make a camera suitable for a dark warehouse?
HDR can help represent bright and dark regions, but it does not guarantee enough signal within the motion-limited exposure. Check whether the mode combines one or several exposures, then assess the required feature through movement and lighting transitions.
What should be demonstrated before paying the premium?
Demonstrate the task benefit after separating geometry, blur, focus, and lighting limitations. Compare complete camera arrangements at practical settings, including any required illumination and processing. The premium should correspond to an observation or operating improvement the AMR actually needs.
Official Sources
- Axis: Global shutter vs rolling shutter, August 2026.
- Basler: Electronic Shutter Types.
- Basler: Optimizing Image Quality.
- OMNIVISION: DCG Technology.
- OMNIVISION: OG05D industrial and robotics sensor announcement, October 5, 2026.
- Active Silicon: Two new Harrier global shutter cameras, September 9, 2026.
- Basler: Acquisition Timing Information.
- SICK: safeVisionary2 operating instructions, September 9, 2026 edition.


